Things
Overview
In the Industrial IoT landscape, connecting and managing your devices efficiently is essential. Each device, or Thing, is an individual instance based on a predefined ThingType. A Thing inherits specific measures, properties and behaviors from its ThingType, ensuring consistency and scalability throughout your IoT environment.
This documentation covers how you can create, manage and effectively organize your Things within IoTBreeze.
Create a Thing
Follow these steps to create a new Thing within your IoTBreeze dashboard:
Navigating to Things
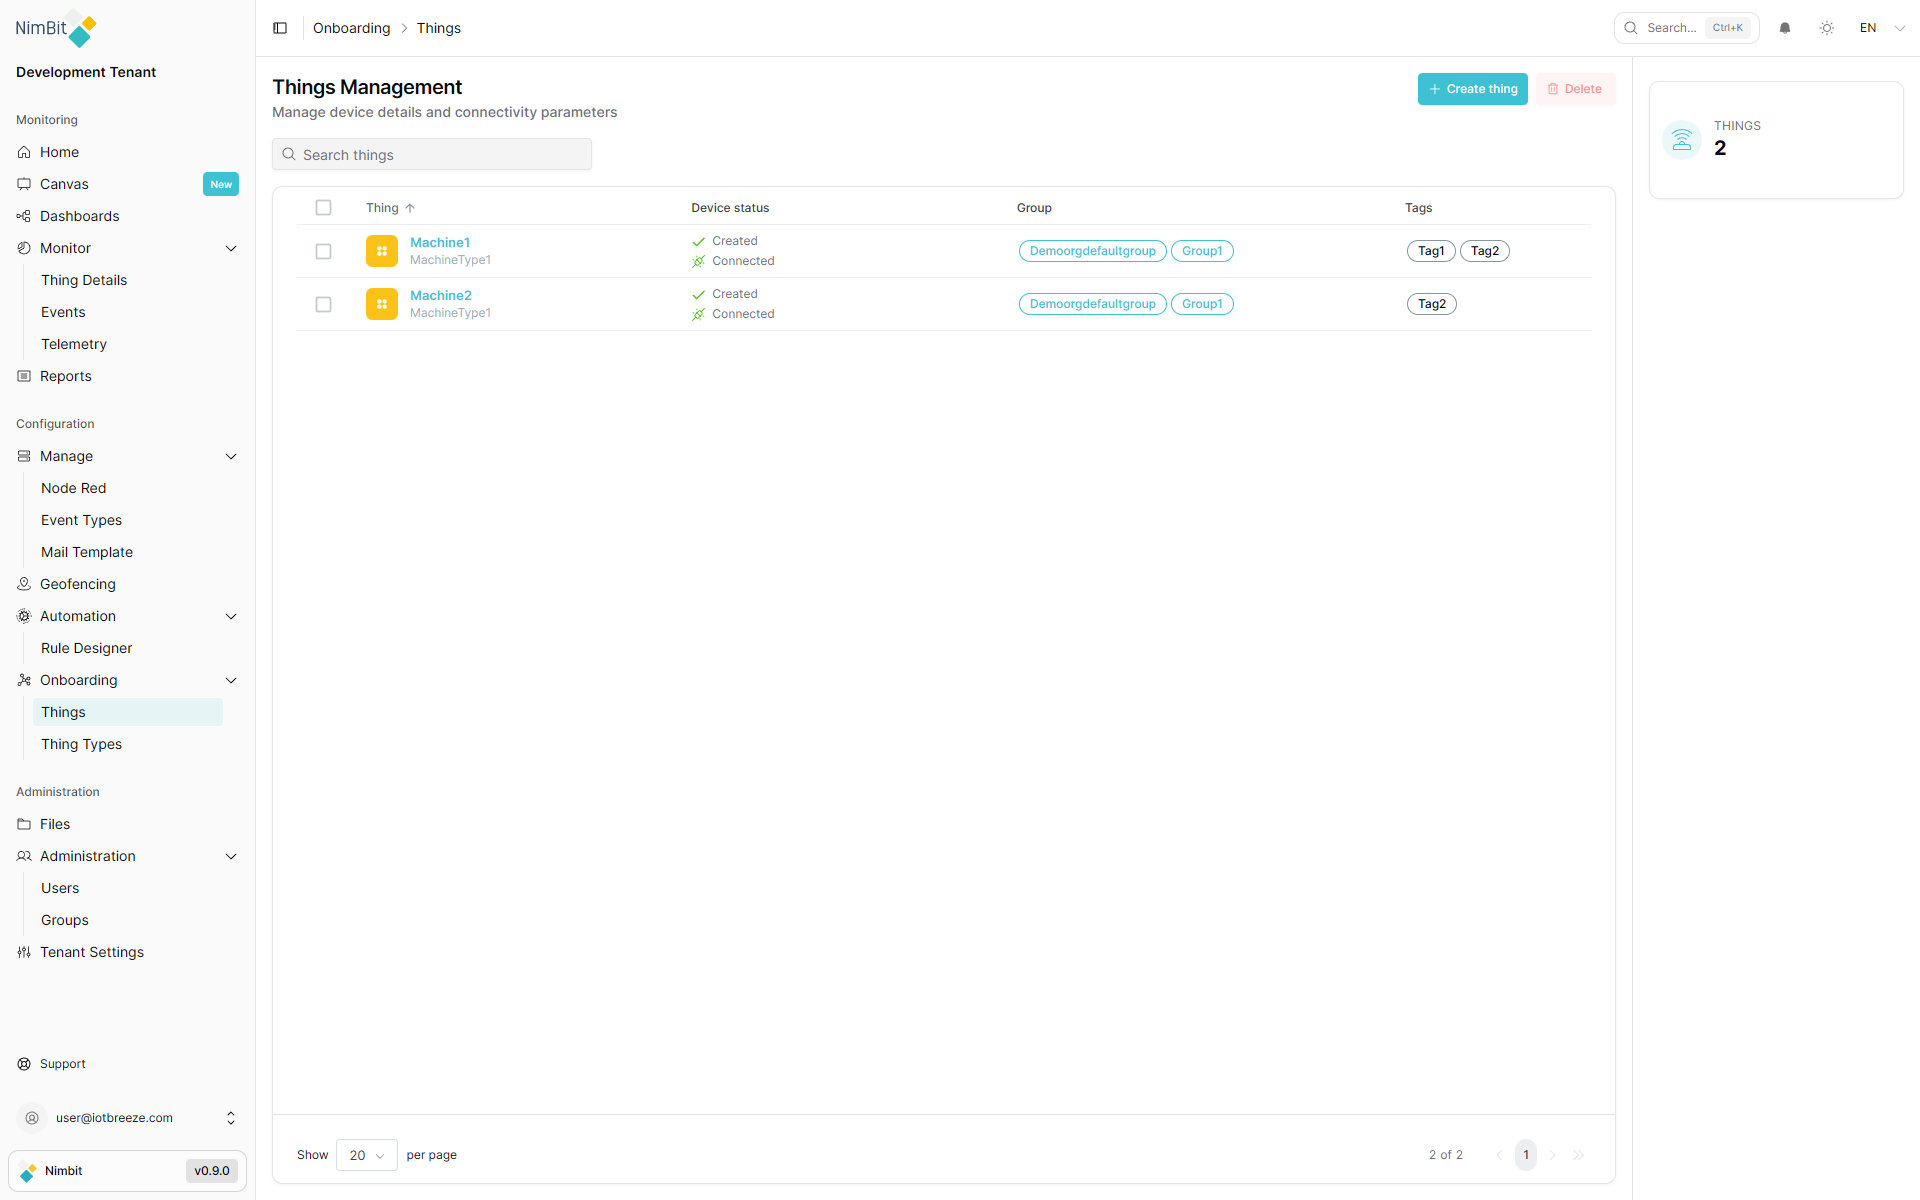
In the sidebar, select Onboarding → Things.
Click the "Create" button in the top-right corner to open the Thing creation page.
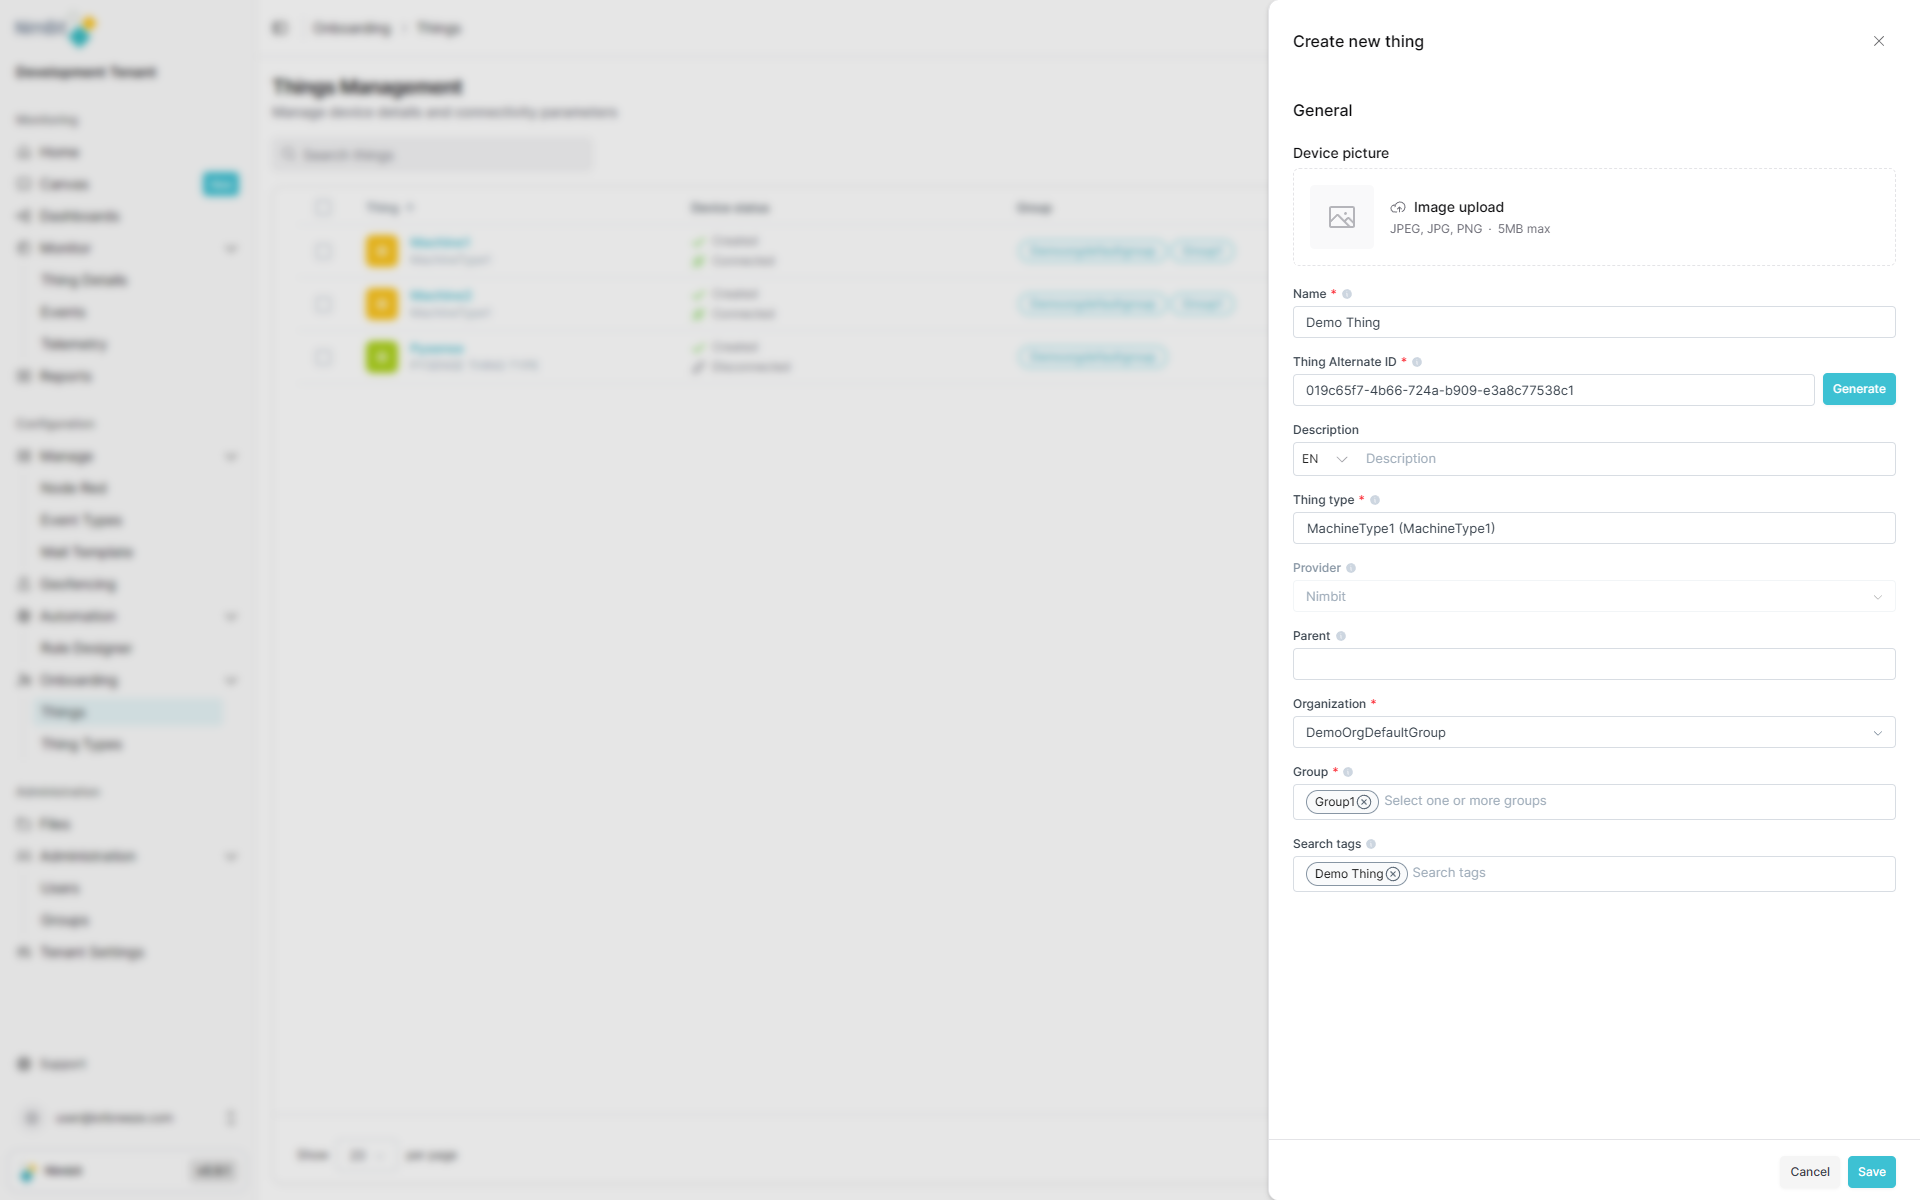
Thing Creation Form
This form allows you to define the basic details and associations of your Thing:
| Field | Required | Description |
|---|---|---|
| Name | ✅ Yes | Unique identifier used throughout the system (no spaces, special characters except underscore and must not start with a number). |
| Thing Alternate Id | ✅ Yes | A secondary unique identifier (often device serial or external ID). |
| Description | ❌ No | Additional context or details about the Thing. |
| Thing Type | ✅ Yes | Select the appropriate ThingType to inherit measures, properties and metadata. |
| Provider | ✅ Yes | Automatically prefilled based on the chosen ThingType. |
| Parent | ❌ No | Select an optional parent Thing to establish hierarchical relationships. |
| Organization | ✅ Yes | Special group representing your organization for administrative control. |
| Group | ✅ Yes | One or more groups used to manage user access and visibility. |
| Search Tags | ❌ No | Keywords to facilitate easy searching and filtering. |
After completing the form, click "Save" at the bottom-right corner.
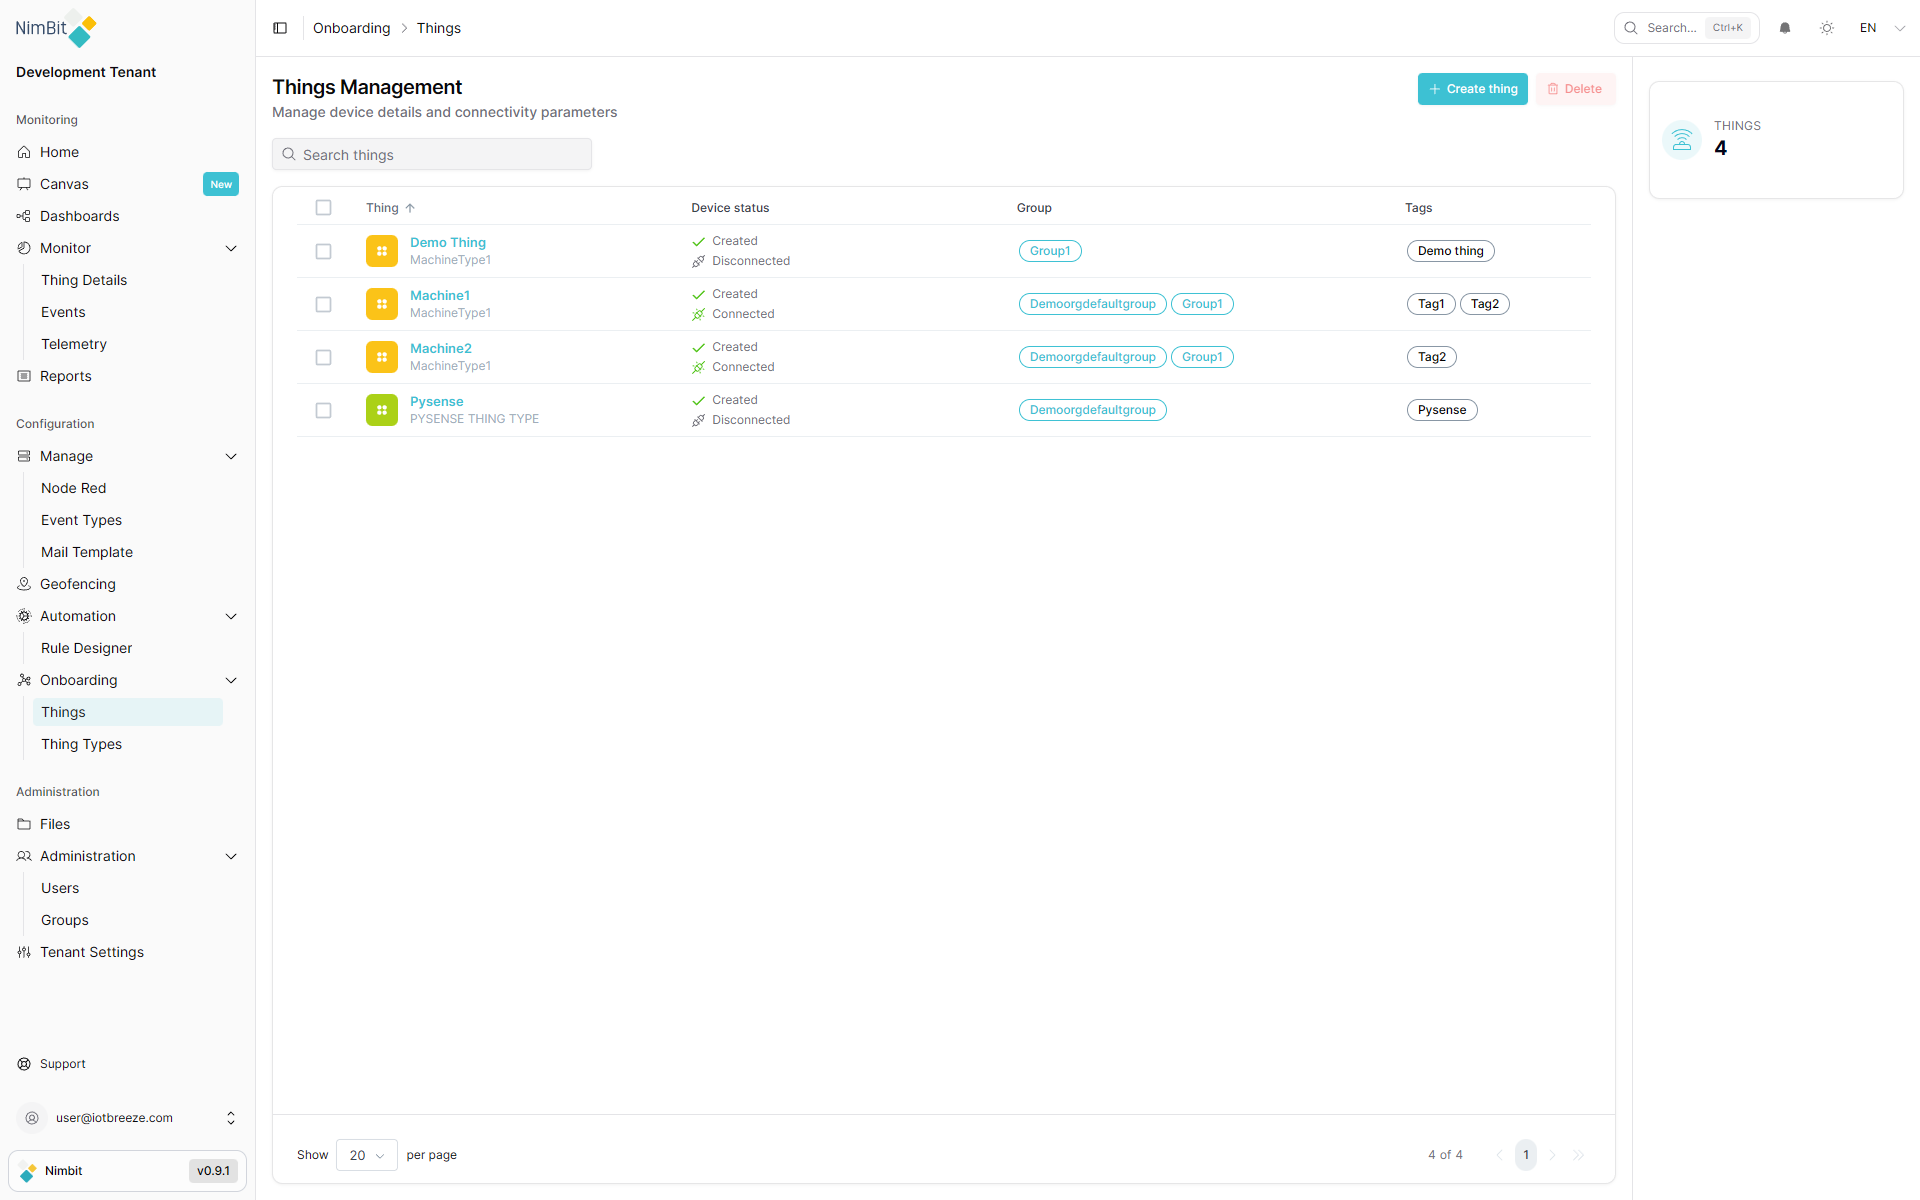
Your newly created Thing will appear in the list:
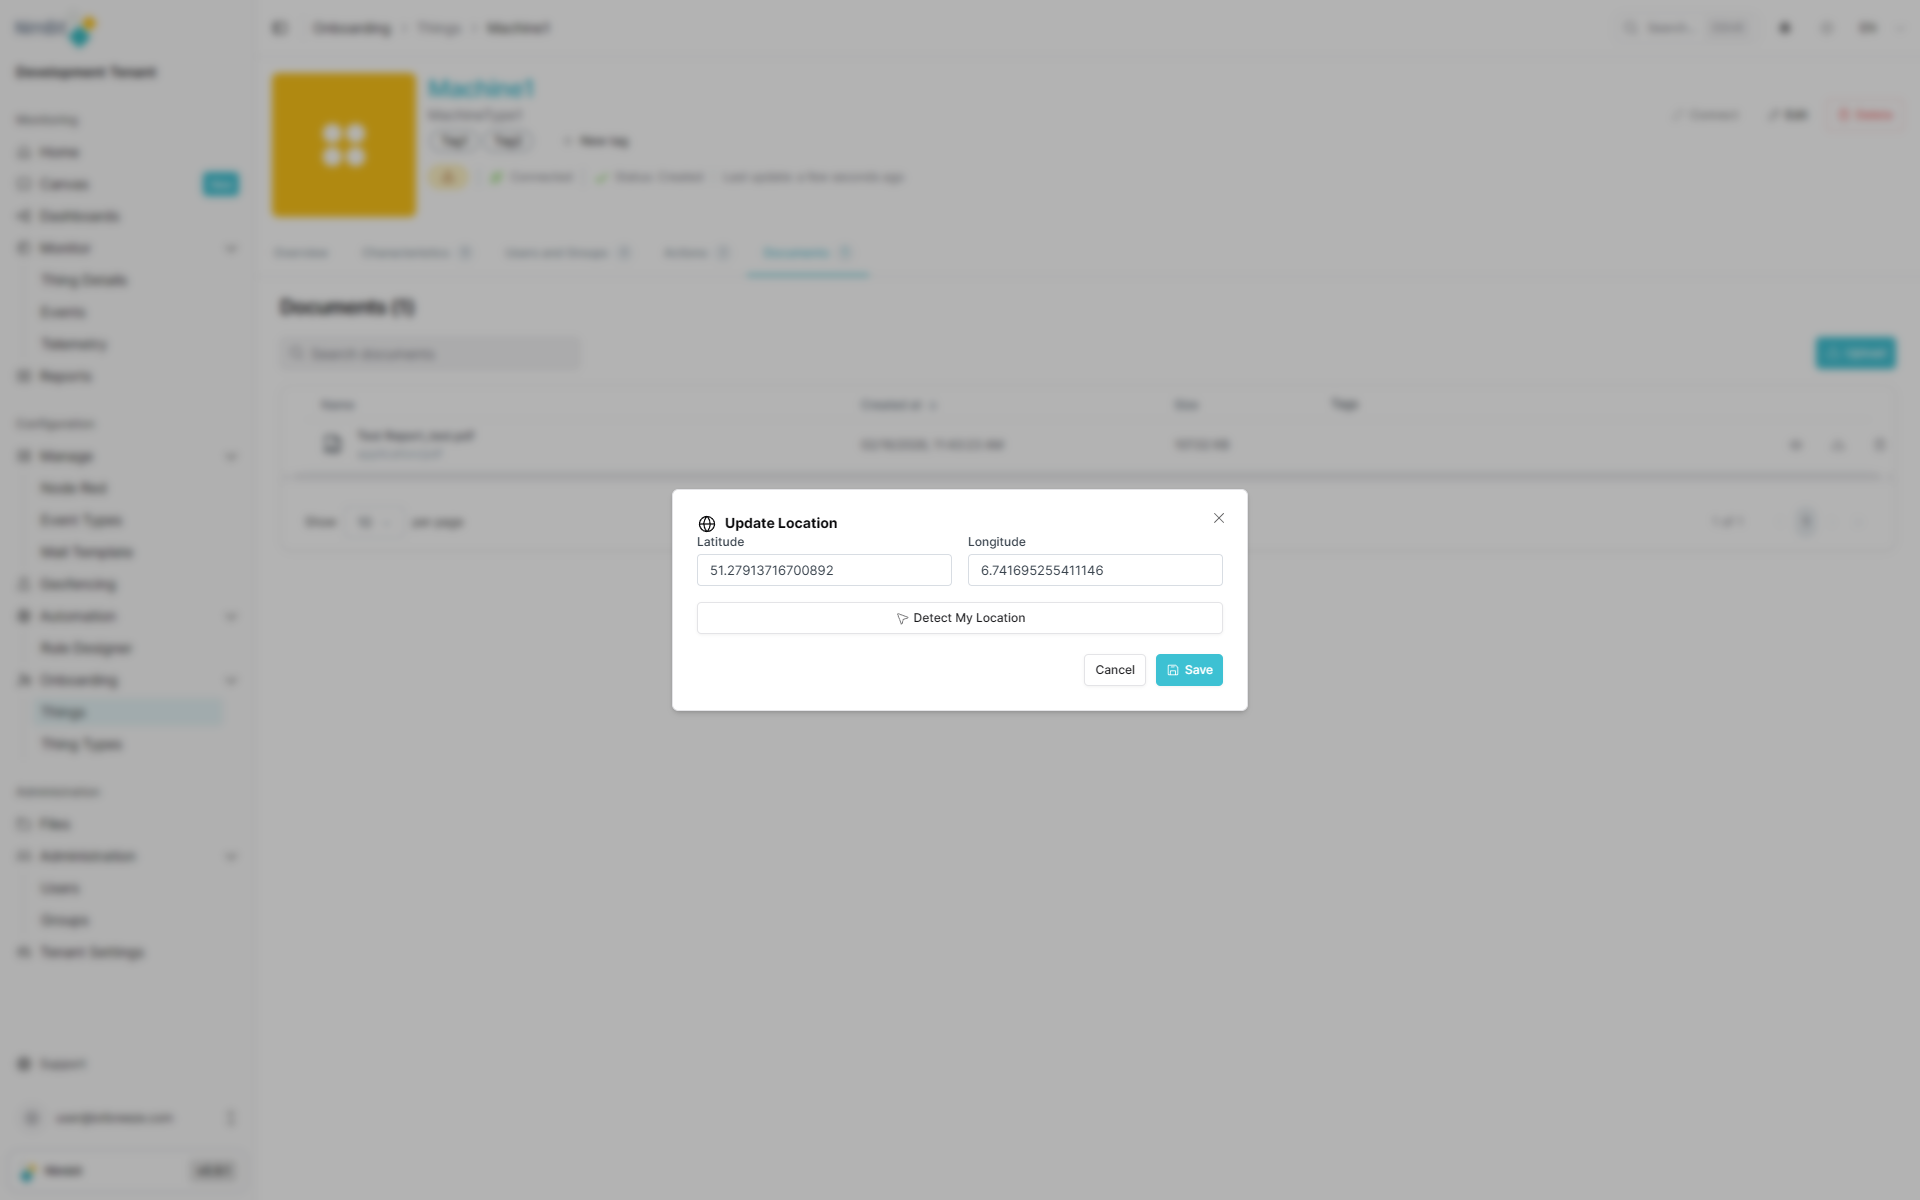
Setting Location
You can set the physical location of your Thing to track where devices are deployed. This is particularly useful for managing distributed IoT installations and visualizing device locations on maps.
To set a location:
- Open your Thing detail page
- In the header below the machine title and tags, click the yellow location icon
- Enter the location details or select a position on the map
- Save the location
Once set, the location information can be used for geographical filtering, proximity-based automation and visual representation on dashboards.
Managing Thing Properties & Measures
Properties
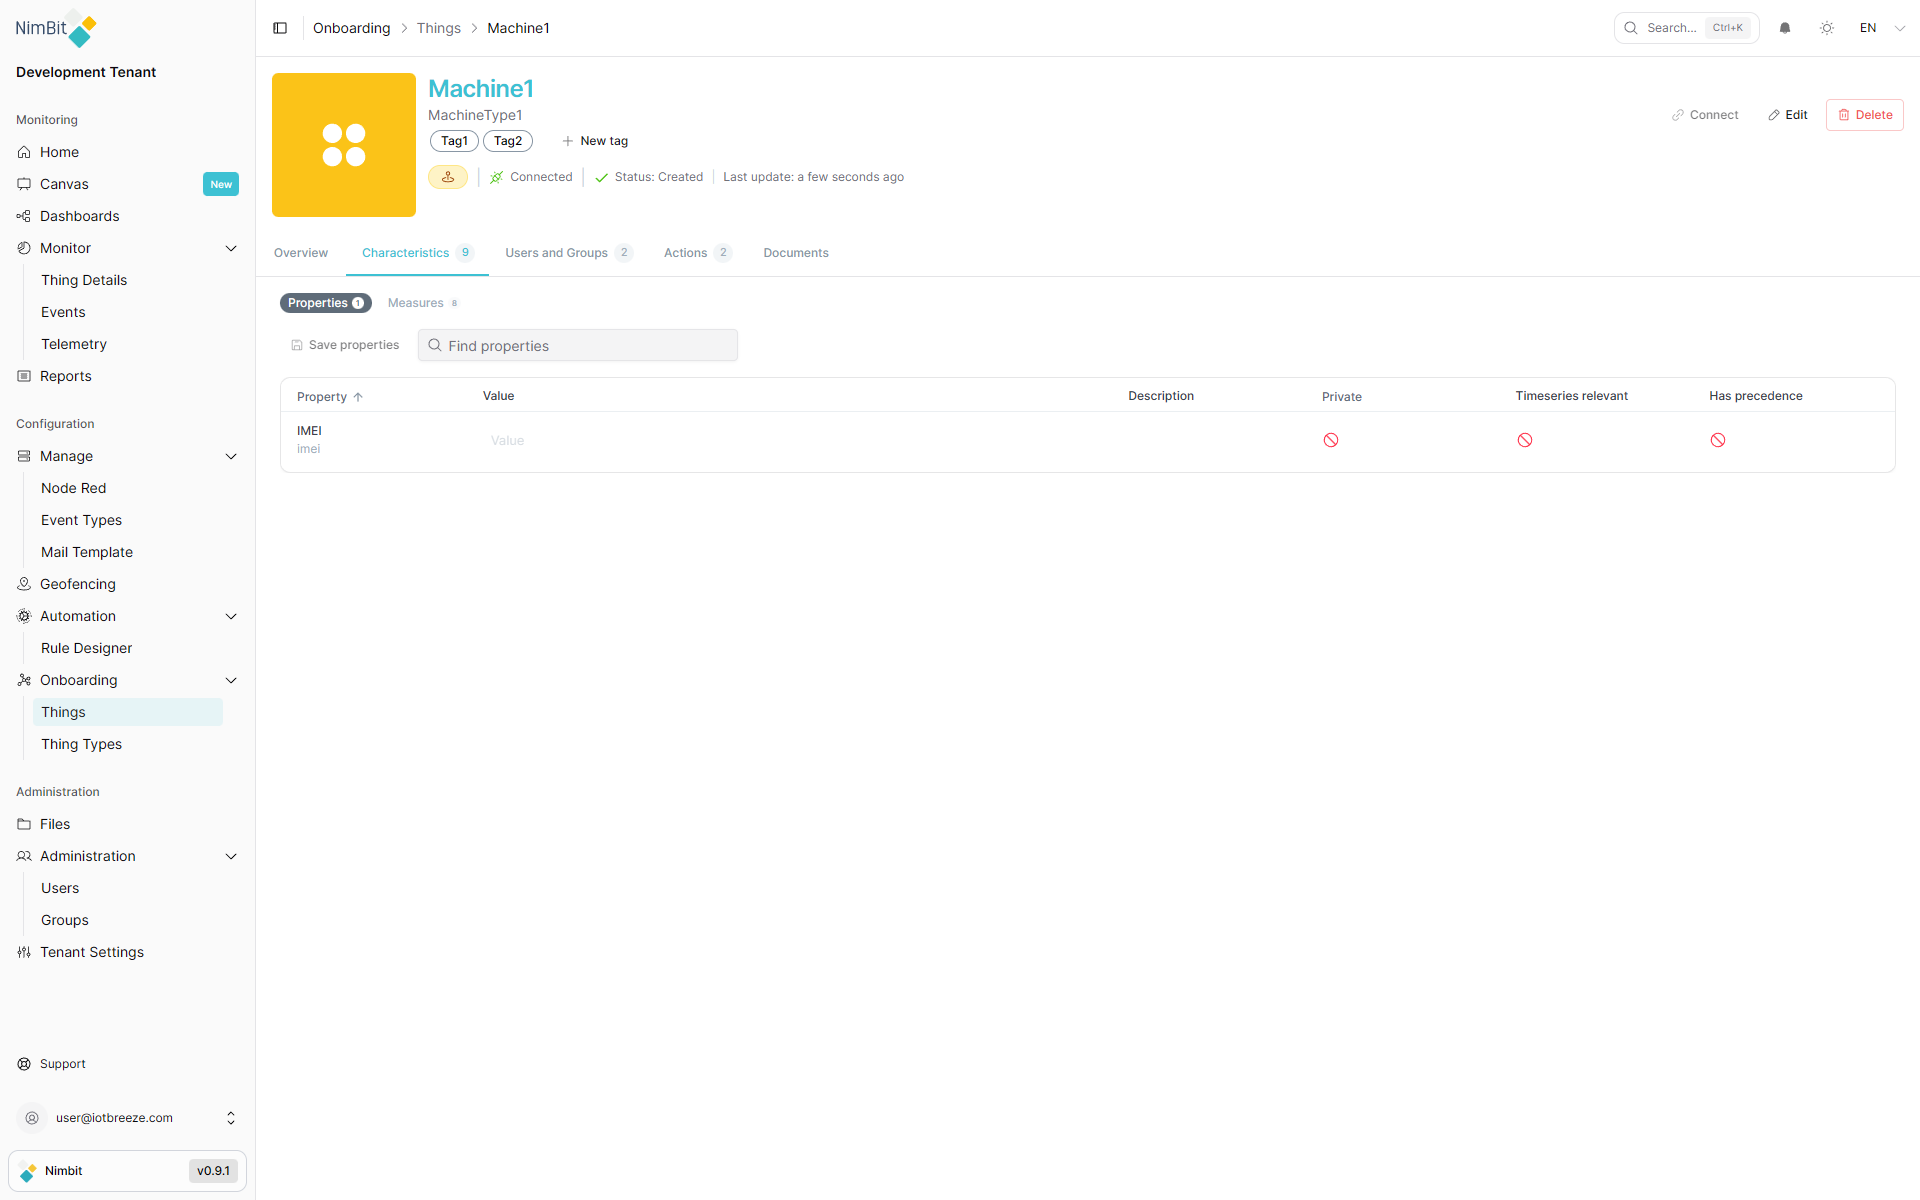
Properties represent metadata or static attributes, such as an IMEI number, manufacturer, or firmware version. Upon creation, each Thing inherits properties from its ThingType, pre-populated with default values if defined.
You can set individual values for each property per Thing, enabling granular control.
To manage properties:
- Open your Thing.
- Navigate to the Properties tab.
- Click on a property to edit its value or leave the default.
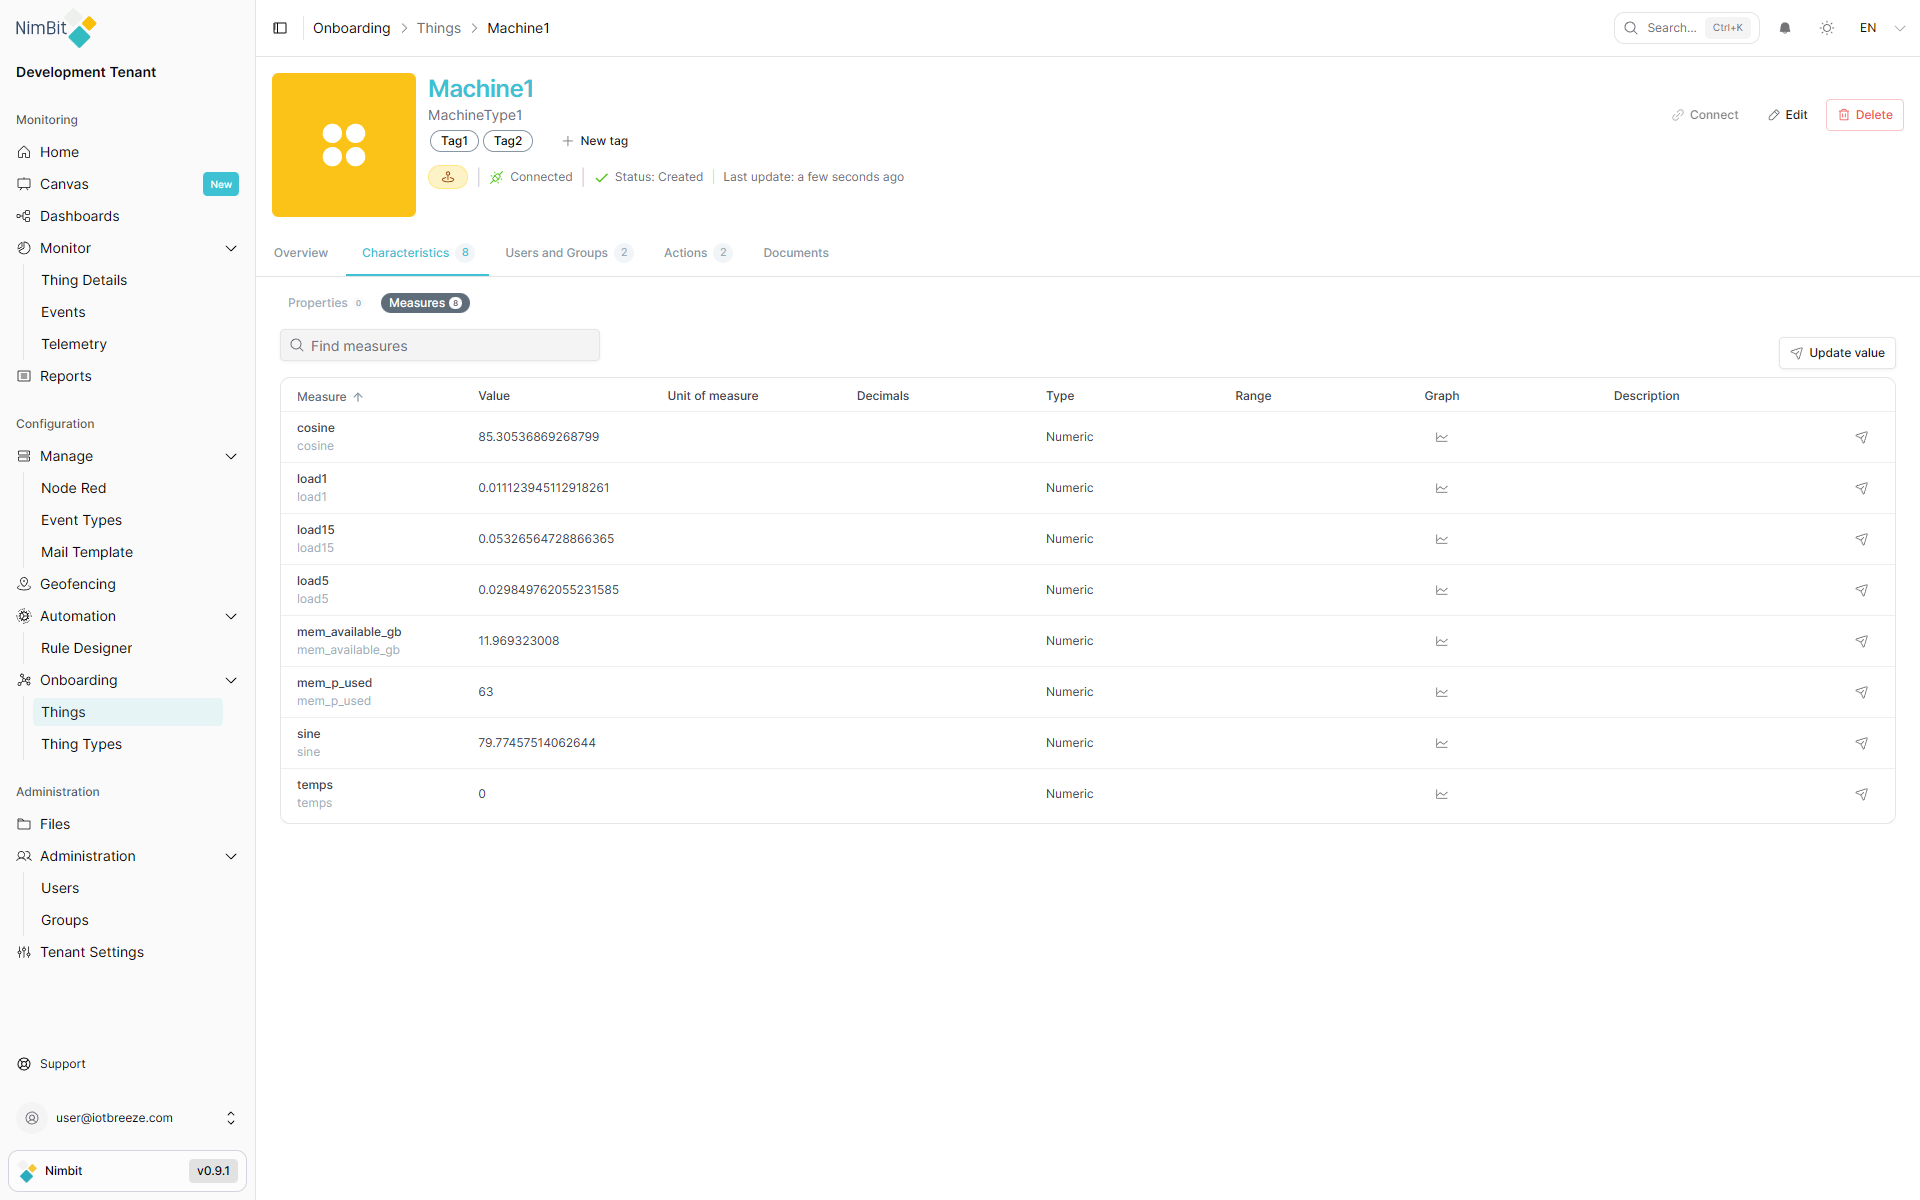
Measures
Measures display real-time data points, such as sensor readings, inherited from your ThingType.
Manually Updating Measure Values
While measures typically receive data automatically from connected devices, you can also manually update measure values. Common use cases include, but are not limited to:
- Testing and simulation
- Manual data entry during device setup
- Recording current readings from devices without automatic data transmission
- Temporary workarounds when automatic transmission is temporarily unavailable
Manually entered values are timestamped at the moment of entry. You cannot specify a custom timestamp for historical data entry.
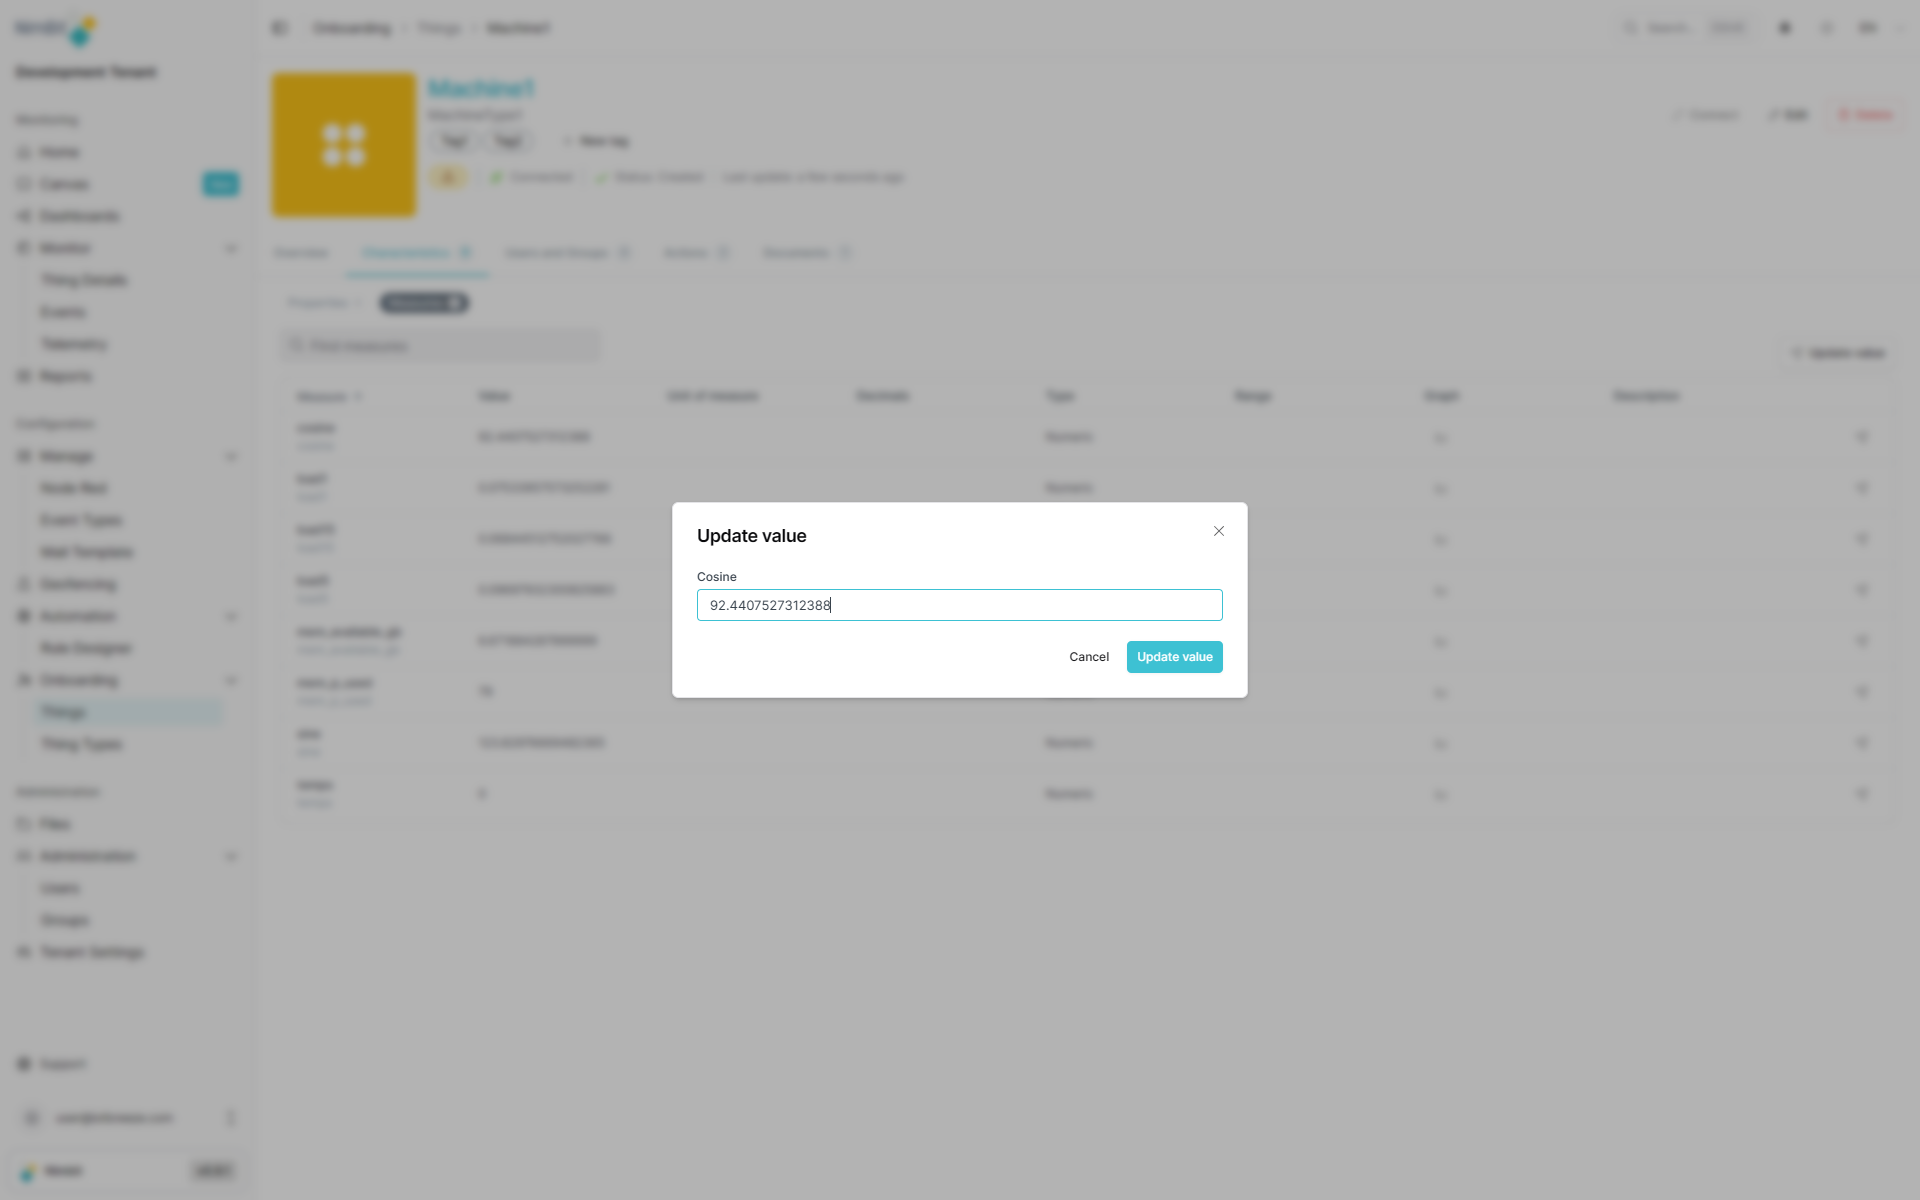
Update a Single Measure
To update a single measure value:
- Navigate to the Measures tab
- Click the icon next to the measure you want to update in the measures table
- Enter the new value
- Save the changes
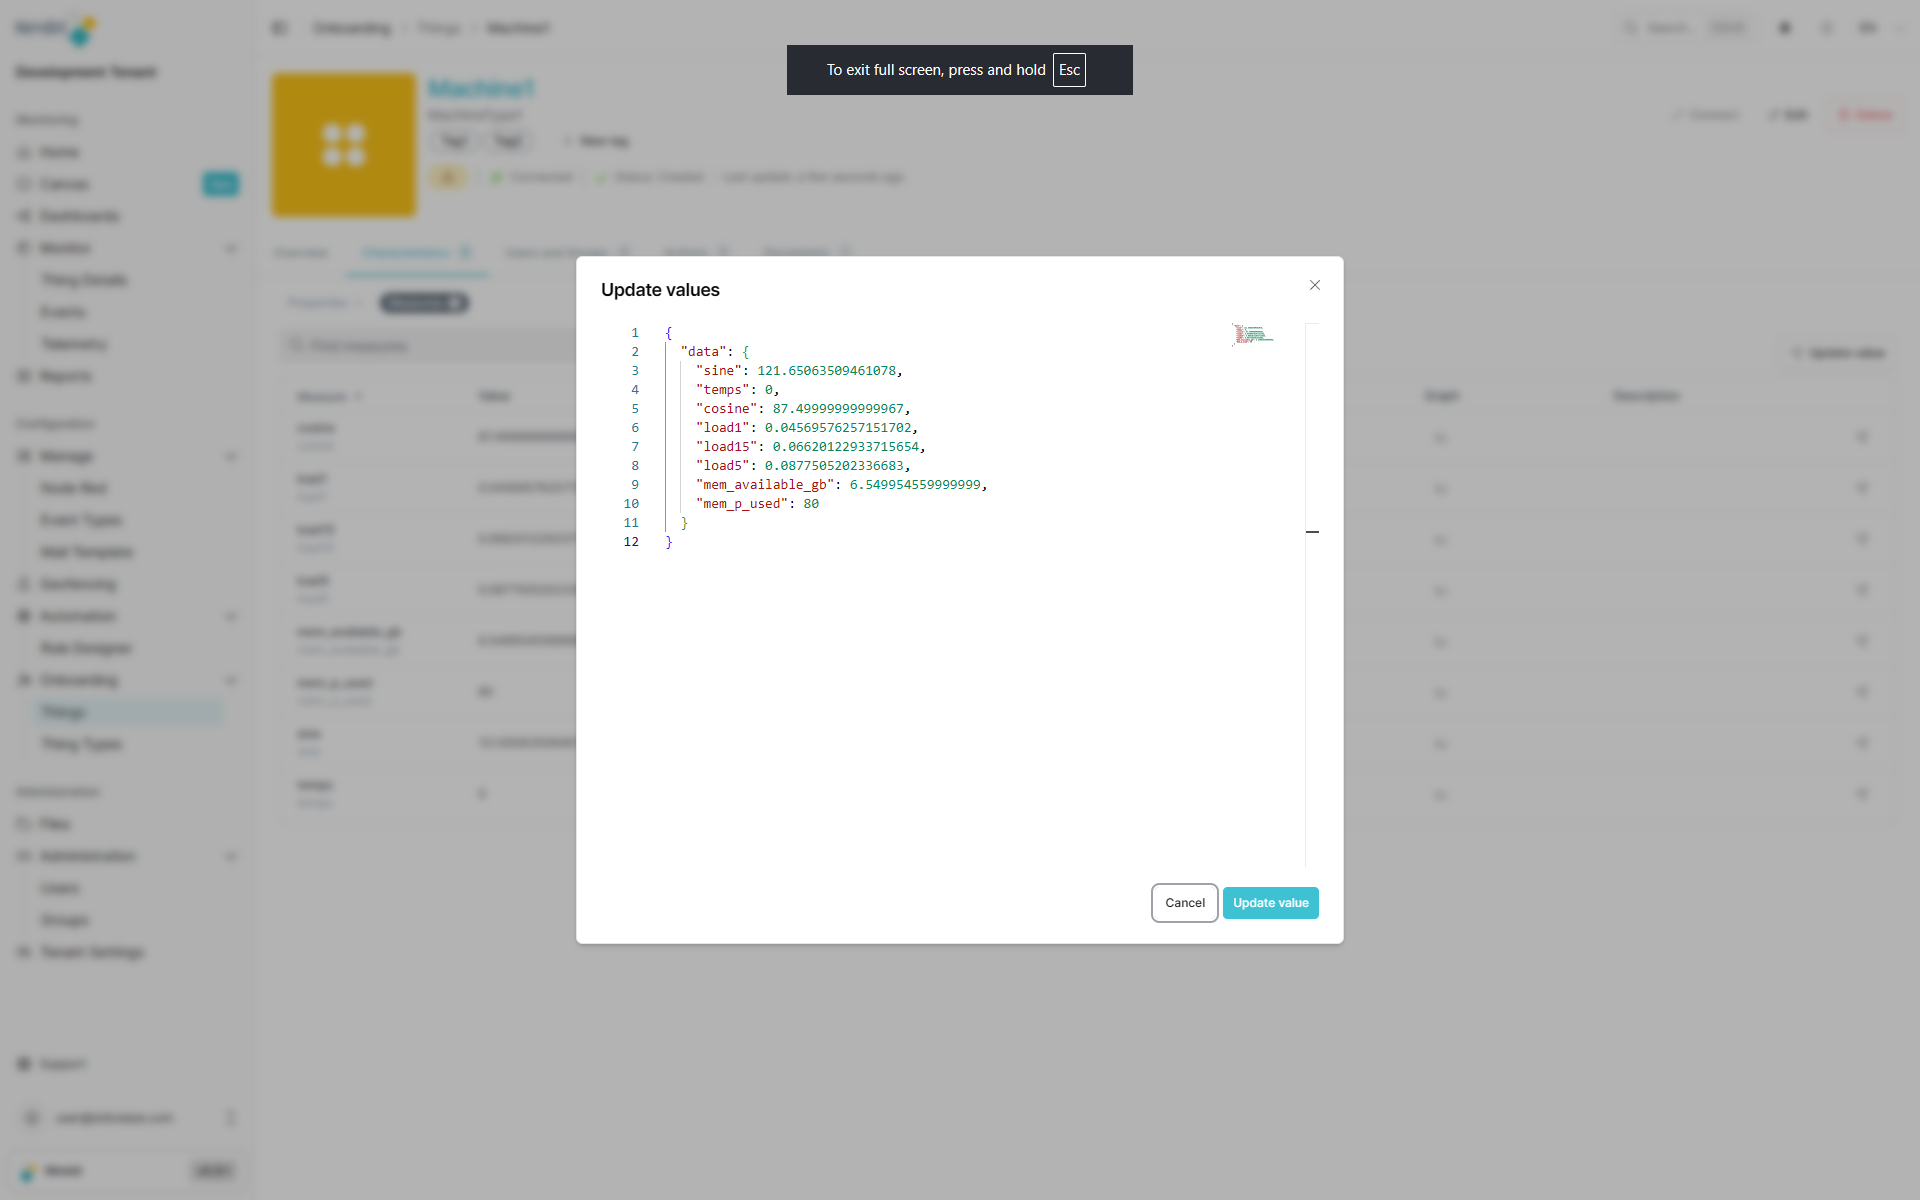
Update Multiple Measures
To update multiple measure values at once:
- Navigate to the Measures tab
- Click the "Update value" button
- Enter values for the measures you want to update
- Save all changes simultaneously
Manually entered values are stored in the database just like automatically received data and can be used in dashboards, rules and analytics.
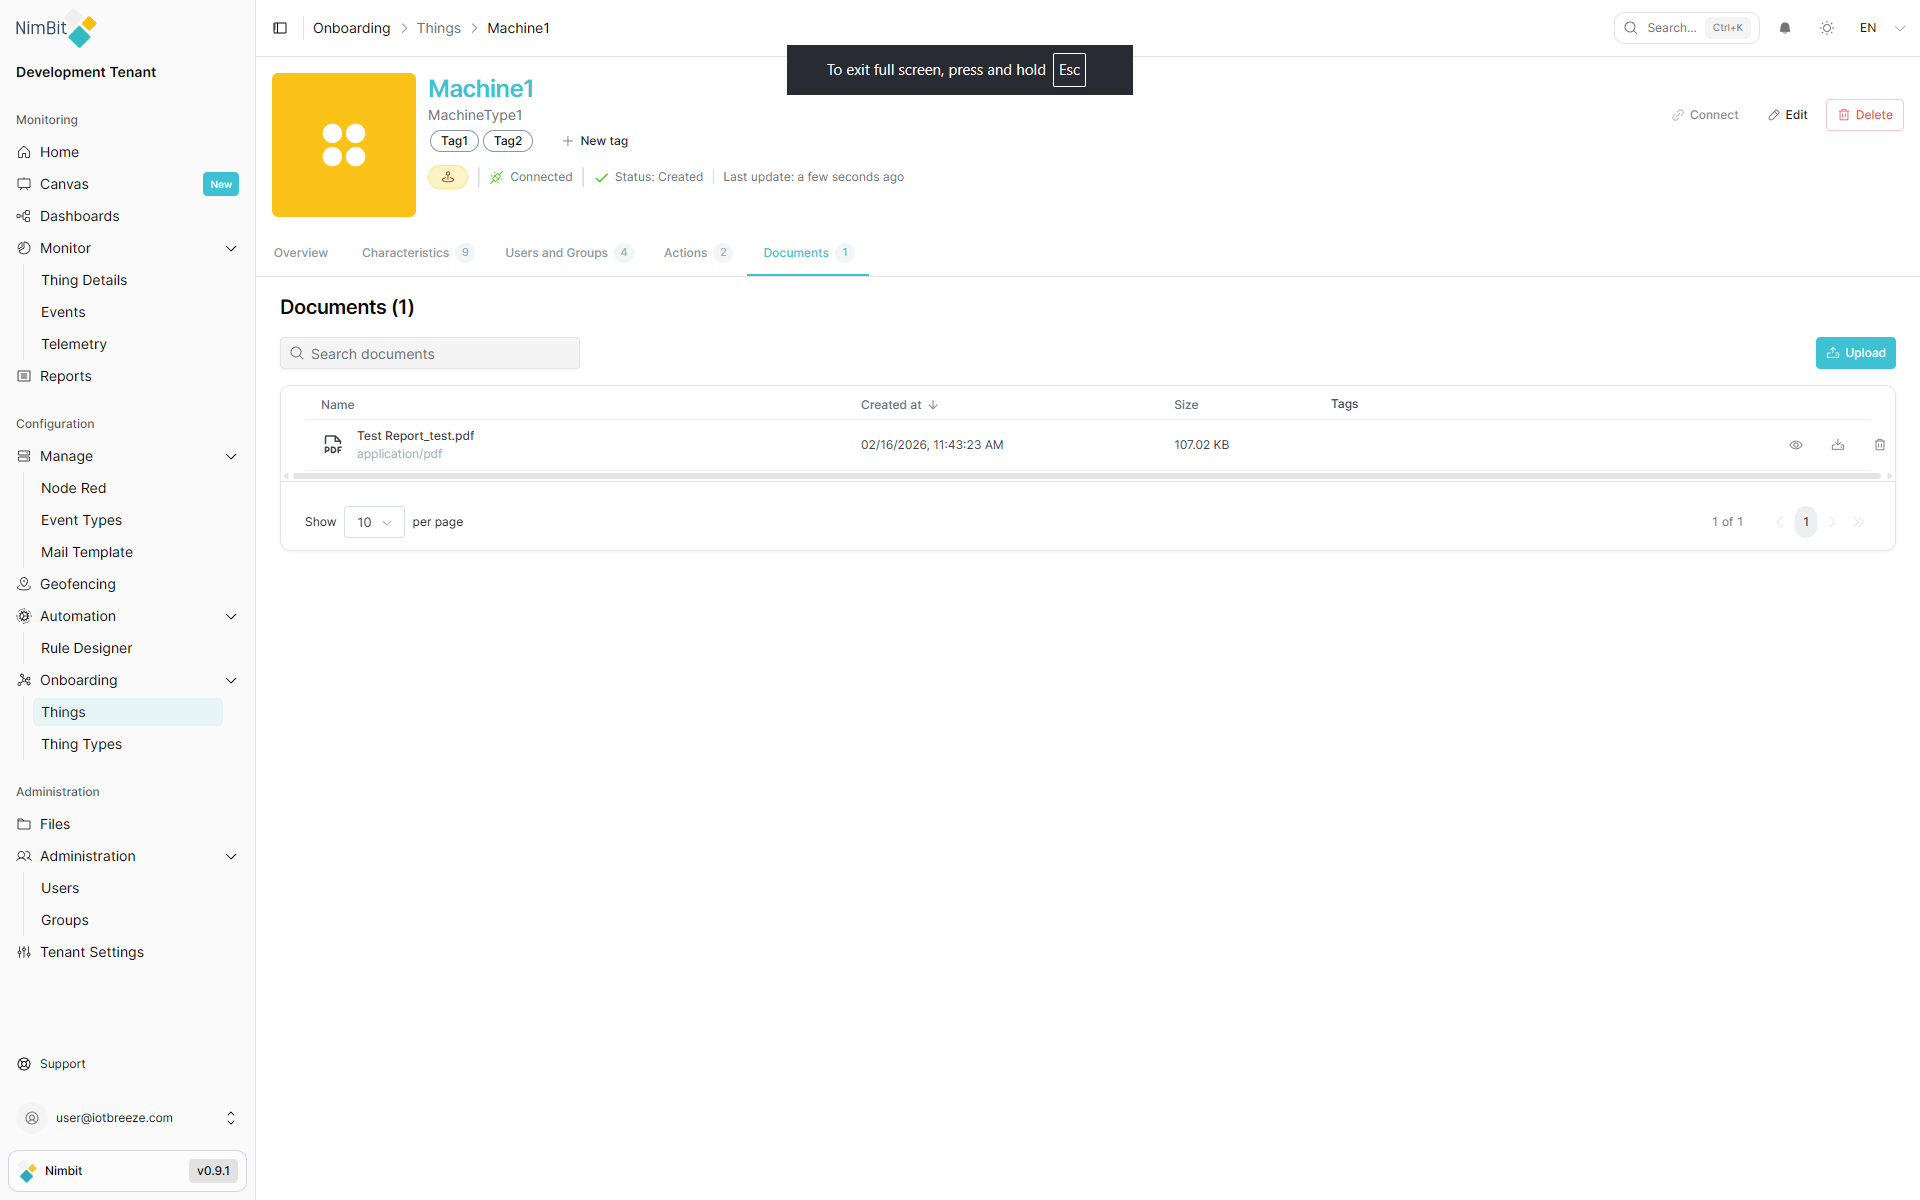
Files
The Files tab enables you to upload and manage thing-specific documents and files. This is useful for storing important documentation such as maintenance manuals, calibration certificates, installation guides, warranty documents and other reference materials related to the specific device.
Uploading Files
To upload a file to your Thing:
- Navigate to the Files tab within your Thing
- Click "Upload"
- Select the file(s) from your computer
- Confirm the upload
Managing Files
From the Files tab, you can:
- View uploaded files and their details (name, size, upload date)
- Download files when needed for reference or sharing
- Delete outdated or unnecessary files to keep documentation organized
- Preview files using the eye icon to see a modal preview odf your file
Having thing-specific files readily accessible ensures that users have immediate access to relevant documentation without needing to search external systems.
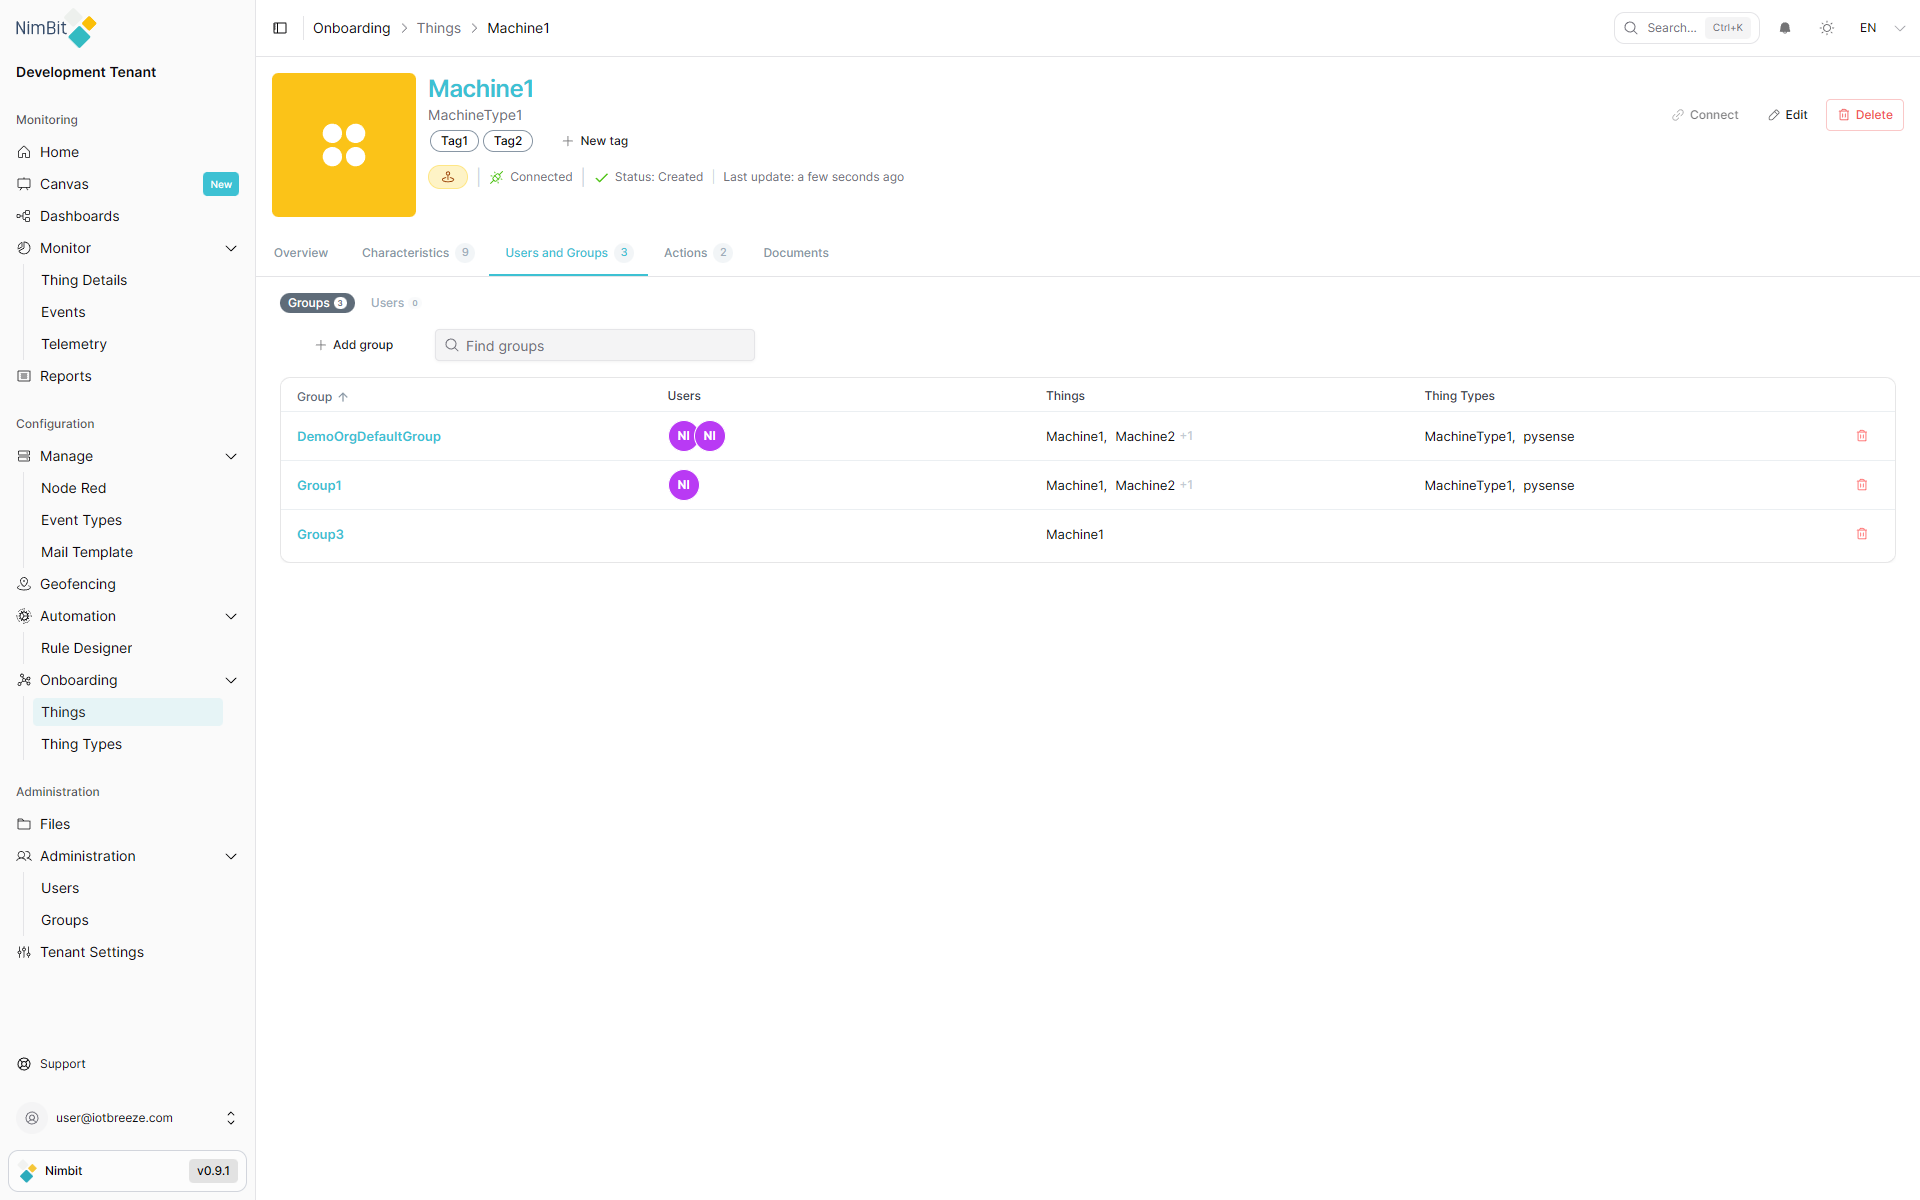
Groups
Groups control which users have access to your Thing. Here's how to assign your Thing to one or more groups:
- Navigate to the Groups tab of your Thing.
- Click "Add to Group".
- Select desired groups and confirm by clicking "Save".
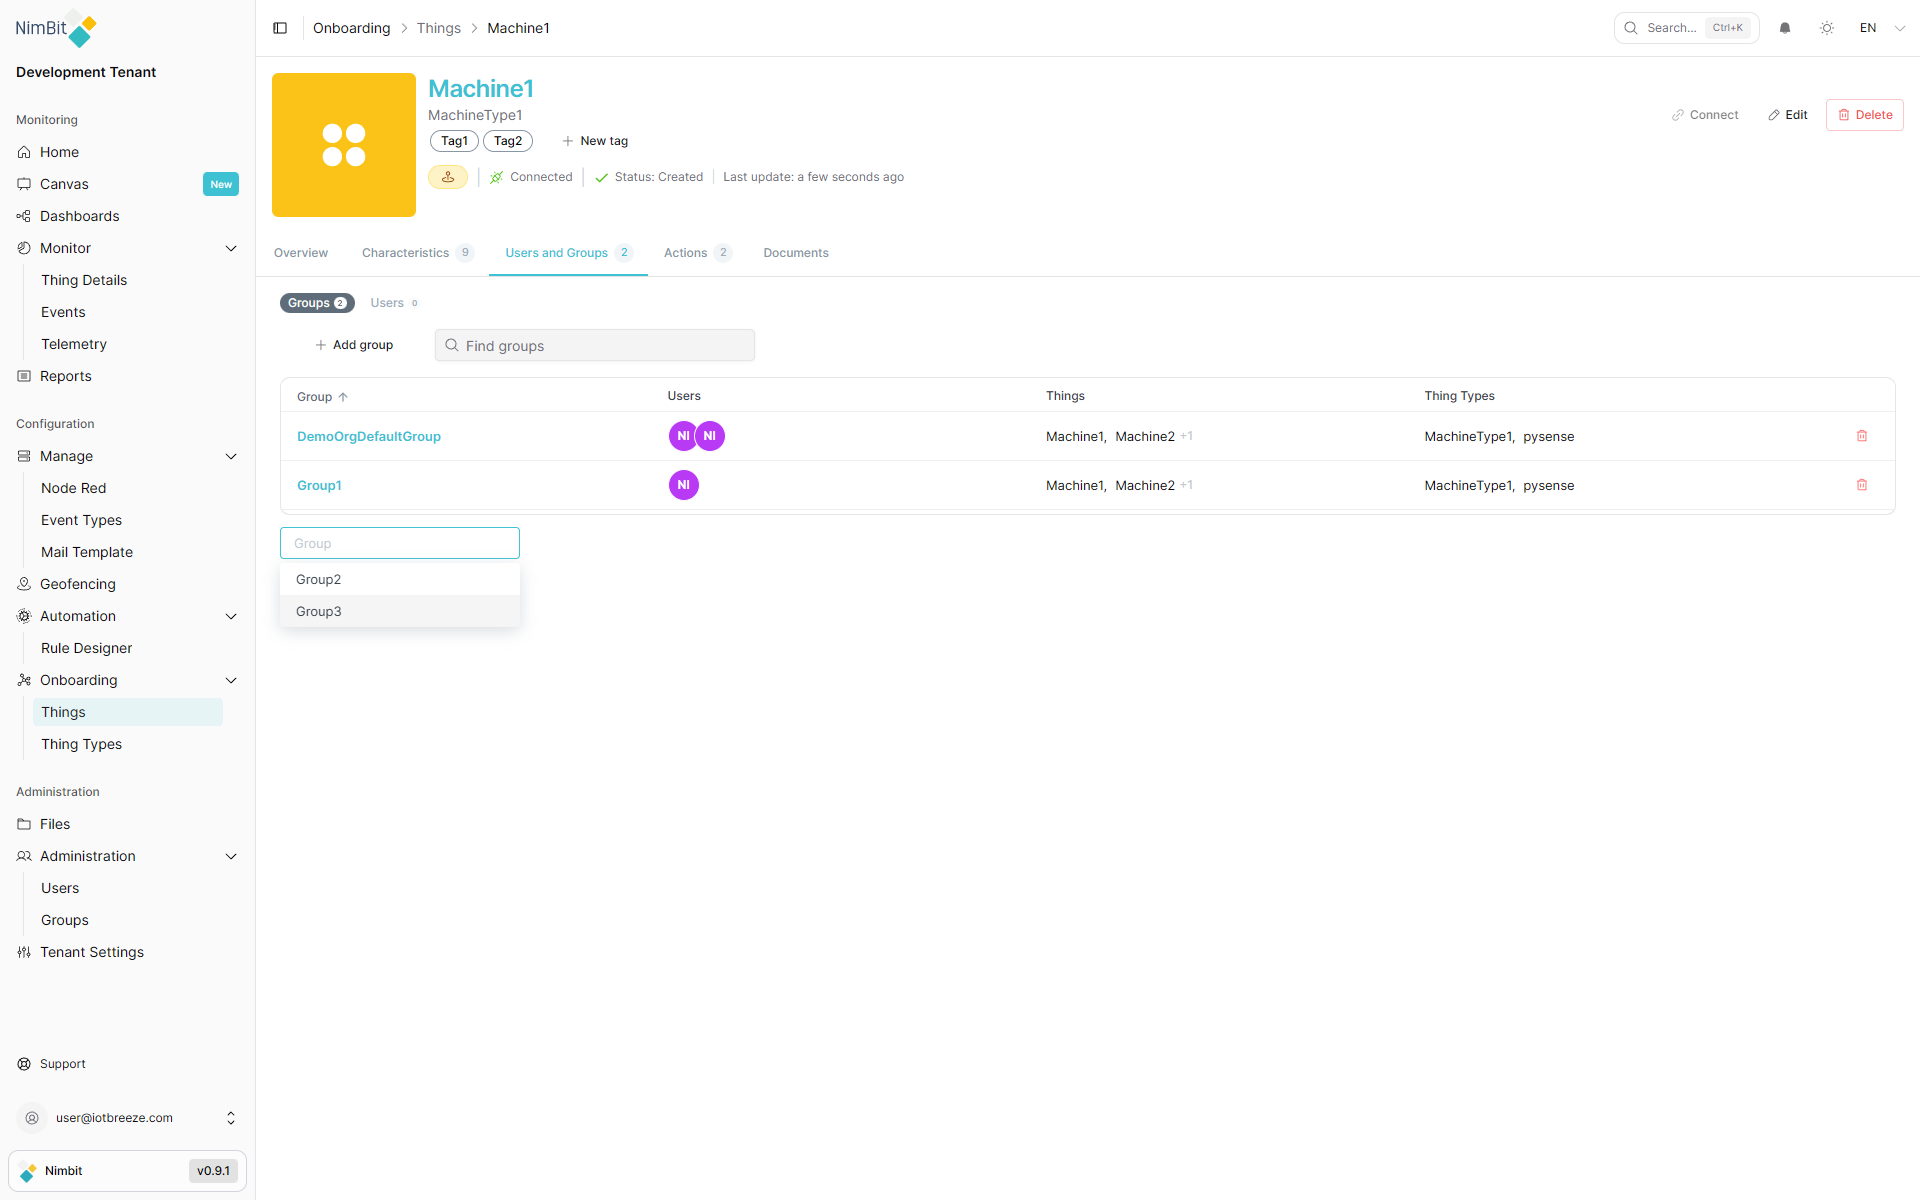
Your Thing will now appear within the selected groups.
Users
The Users tab enables you to view and manage user access to individual Things. Users inherit access rights from their assigned groups, but you can also assign specific users directly to a Thing for specialized control:
- Navigate to the Users tab within your Thing.
- Click "Add User" to associate additional users.
- Select the appropriate users from the dropdown and confirm by clicking "Save".
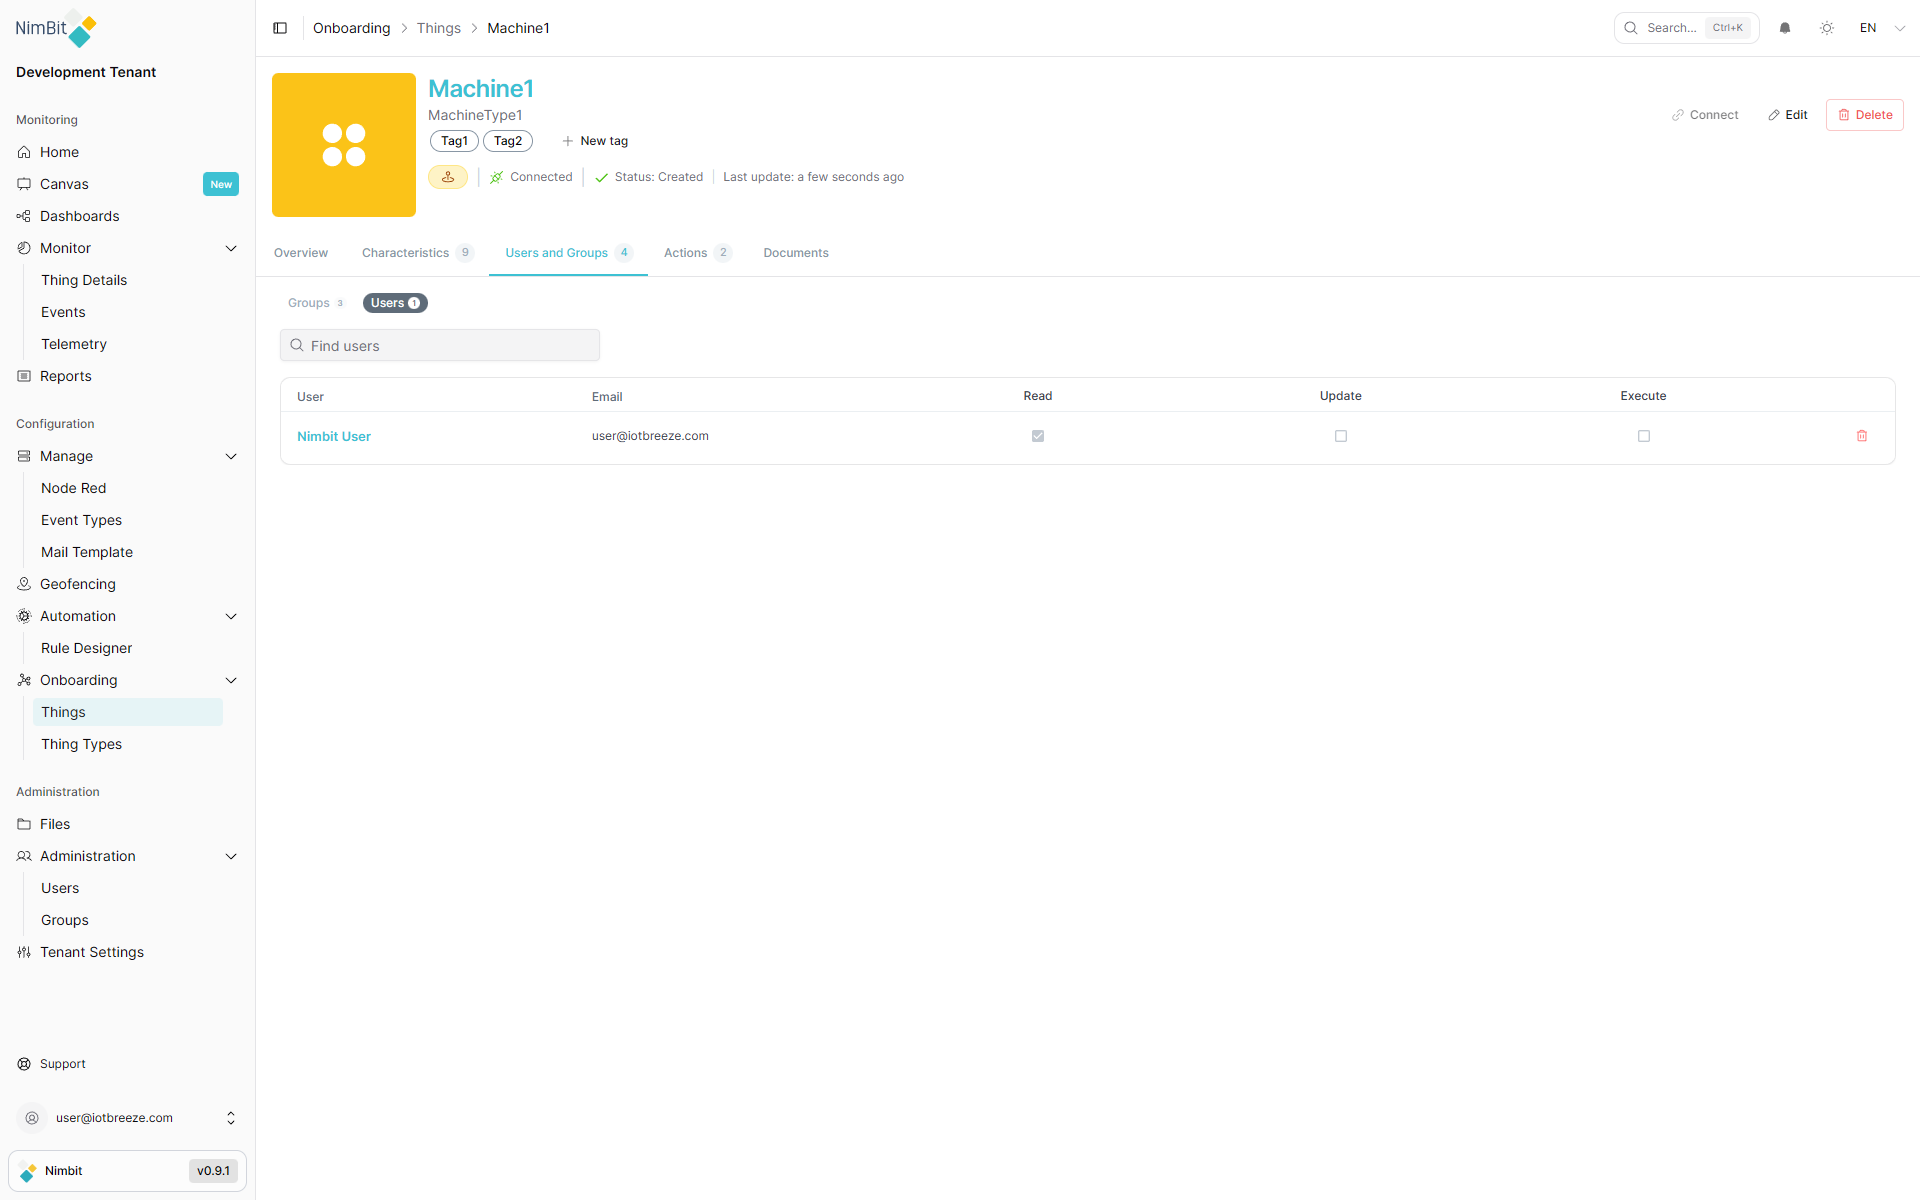
This ensures precise access management tailored to operational needs.
Actions
The Actions tab allows you to manage and execute operations on your Thing. Actions enable remote control, command execution and integration with external systems.
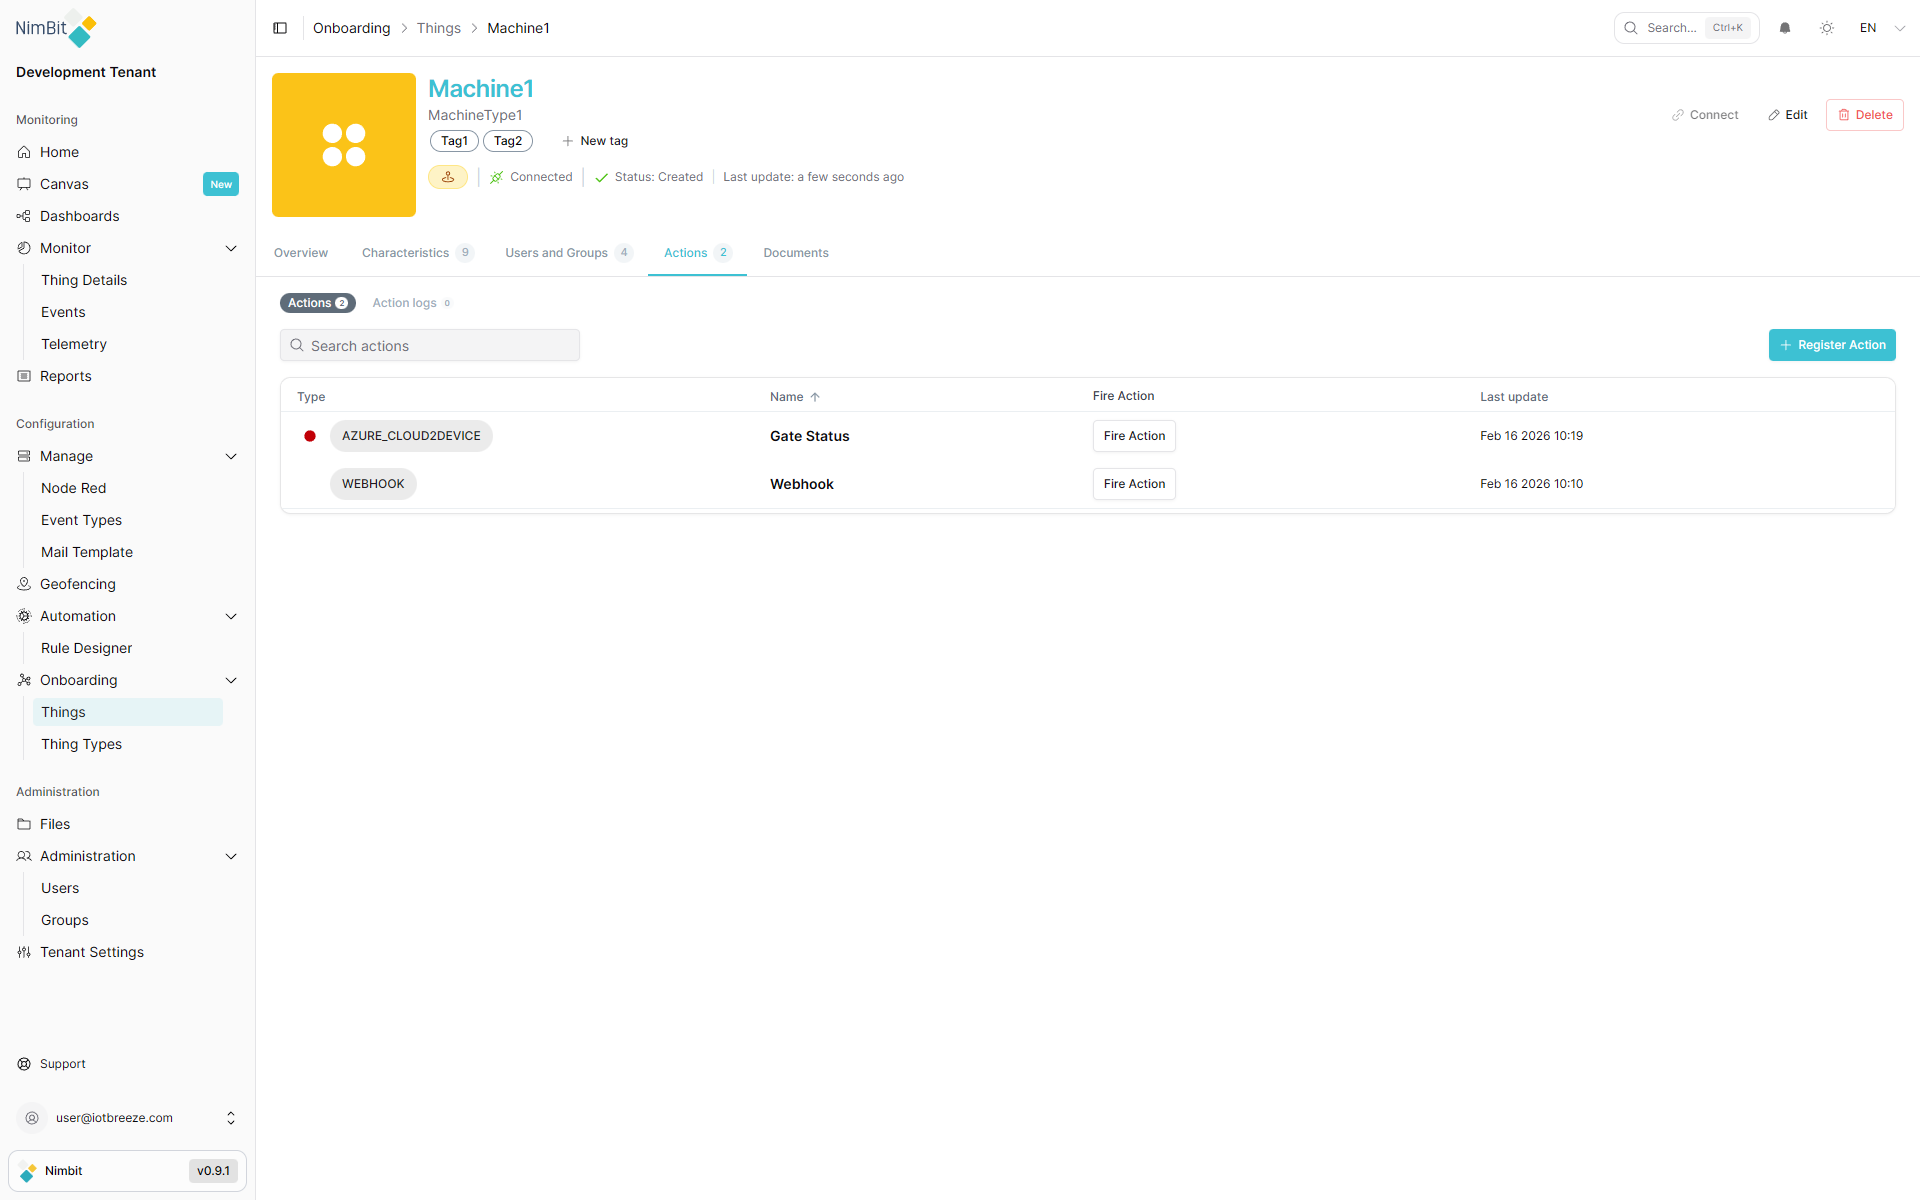
Viewing Available Actions
In the Actions tab, you can view:
- ThingType Actions: Actions inherited from the Thing's ThingType, available to all instances of that type
- Thing-Specific Actions: Custom actions created specifically for this individual Thing
This combined view provides a complete overview of all executable operations available for your device.
Creating Thing-Specific Actions
While ThingType actions apply to all devices of the same type, you can create thing-specific actions for individual devices when you need custom behavior for a particular instance.
To create a thing-specific action:
- Navigate to the Actions tab within your Thing
- Click "Create Action"
- Configure the action according to your requirements
For detailed information on how to configure Webhook and Azure C2D actions, see the Actions documentation.
Executing Actions
To execute an action on your Thing, click the "Fire Action" button next to the desired action. A confirmation modal will appear before the action is executed.
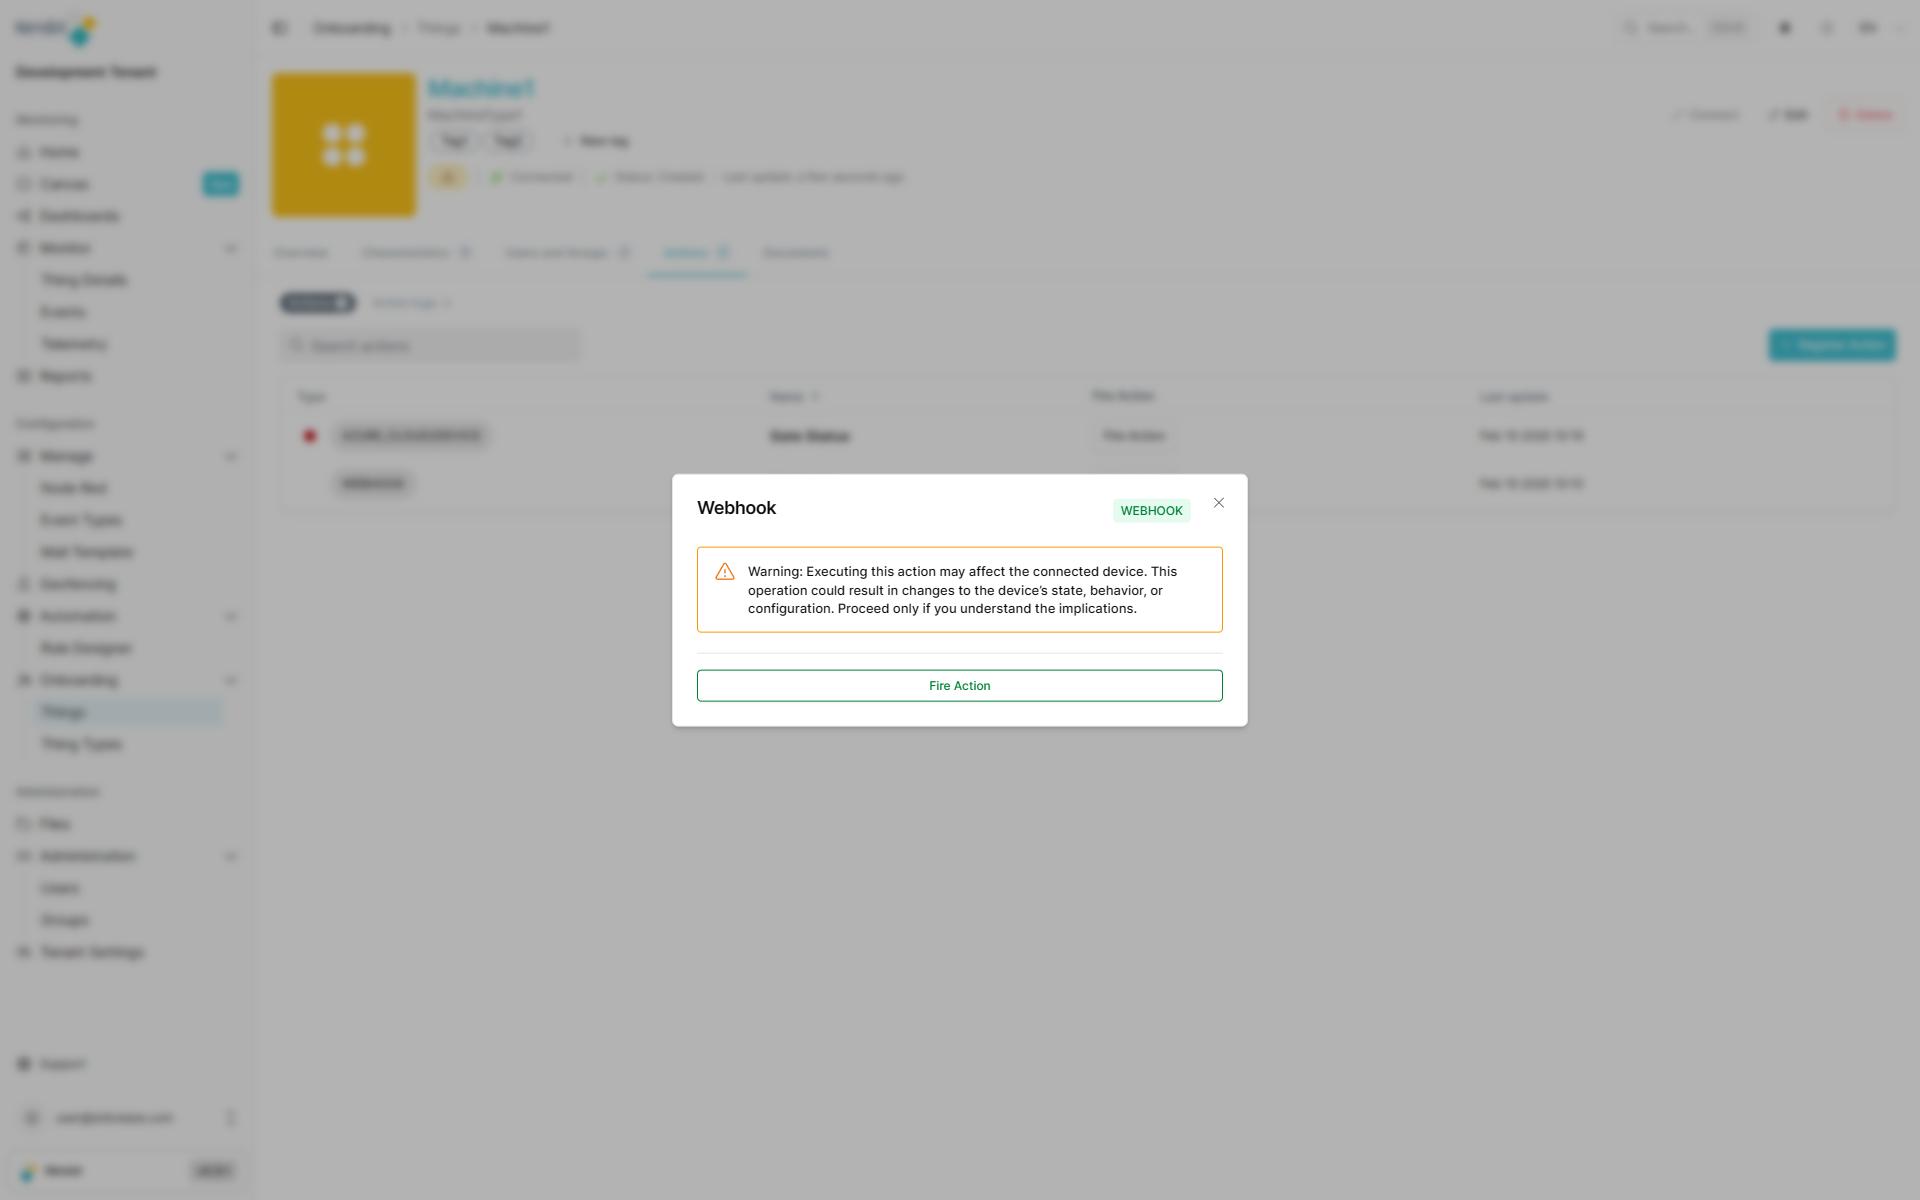
Normal Actions
For standard actions, a confirmation modal opens where you can review and confirm the action execution:
Toggle Actions
For toggle actions (such as C2D toggle actions), the confirmation modal allows you to select the desired state before execution:
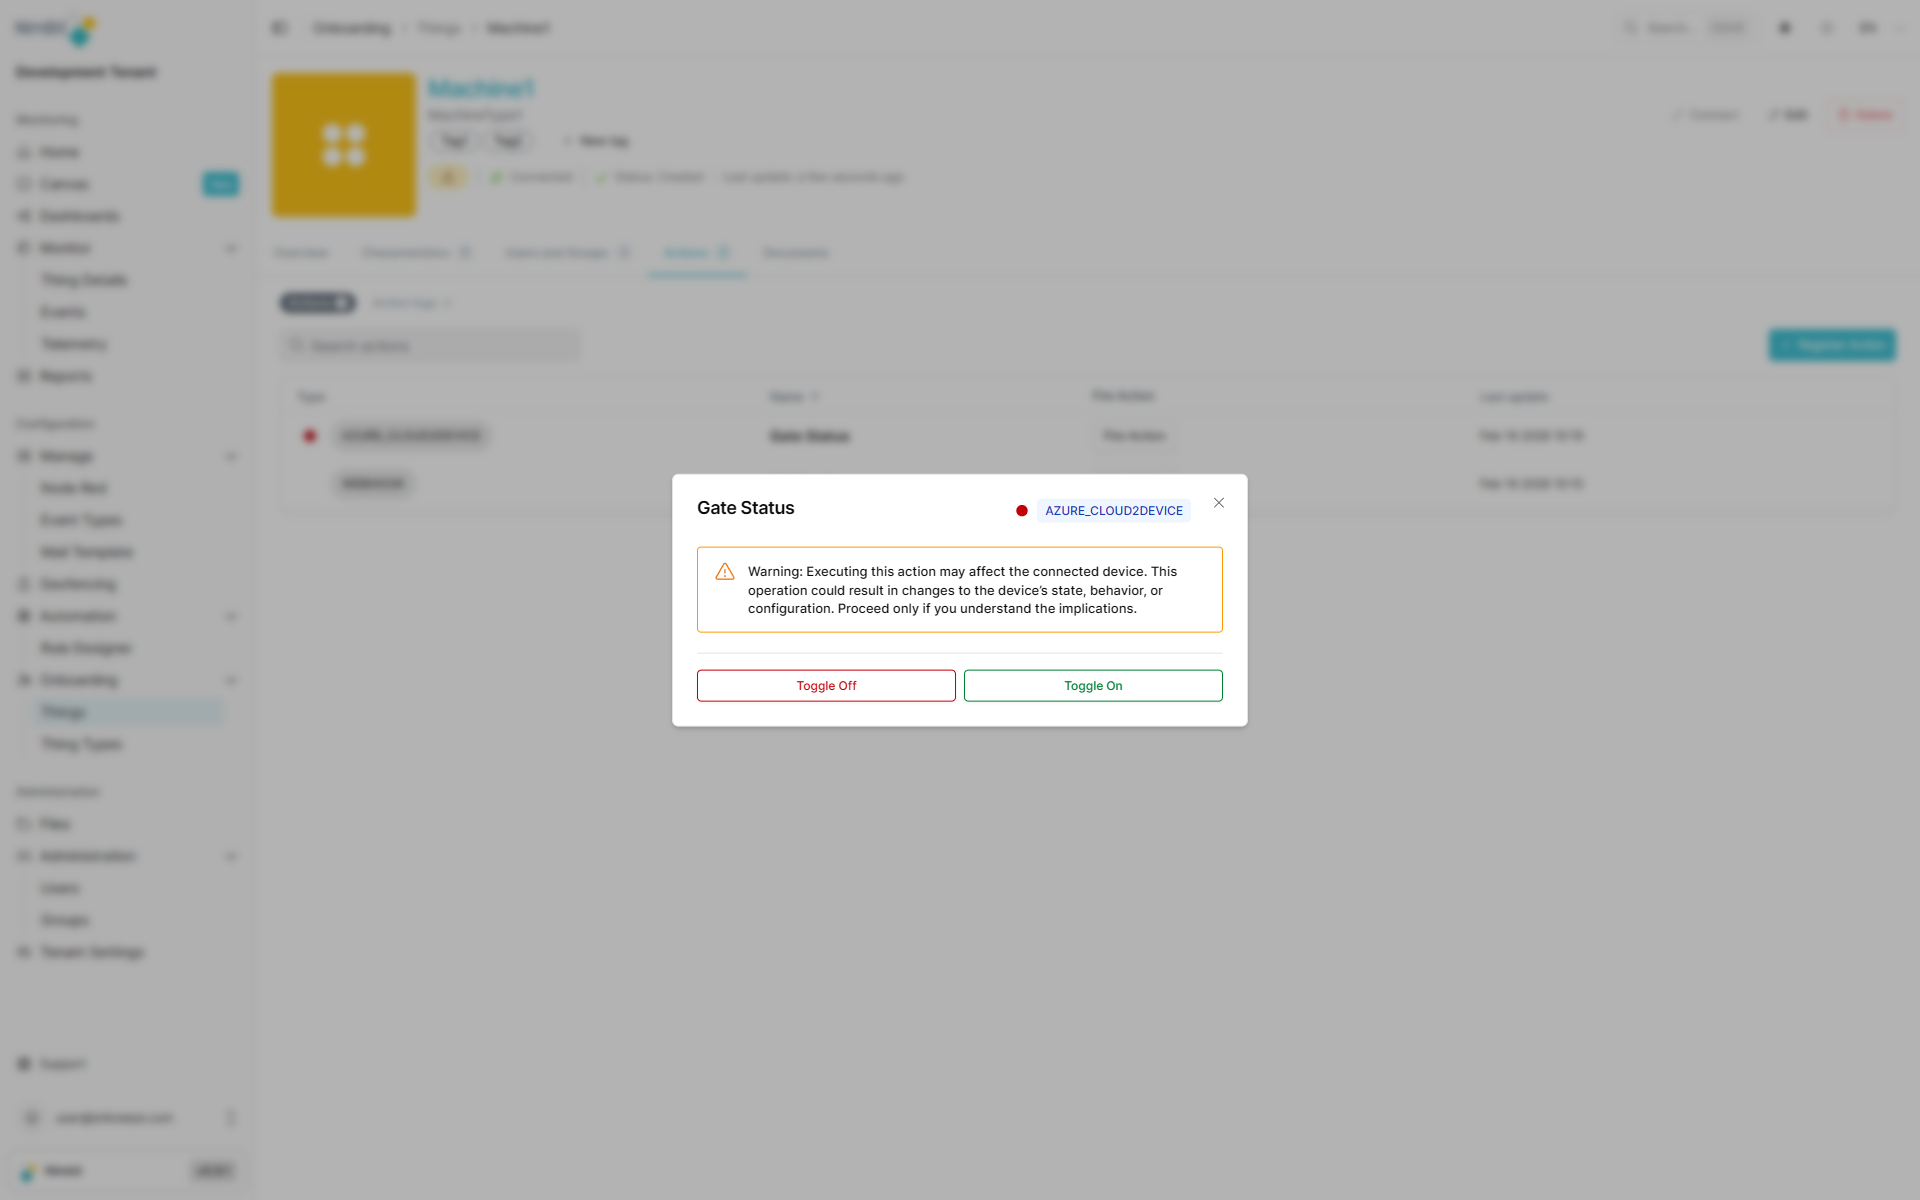
This allows you to:
- Trigger commands to your device with confirmation
- Select toggle states (ON/OFF, OPEN/CLOSE, etc.) before execution
- Test action configurations safely
- Manually control device operations
- Execute webhooks or cloud-to-device messages
- Prevent accidental action triggering through the confirmation step
Actions can be fired directly from the Thing interface, making it easy to control and interact with your devices in real-time while maintaining safety through the confirmation process.